Views: 31105
Last Modified: 08.07.2020
|
In order to install PHP, first of all the PHP 5 installation package shall be downloaded from http://windows.php.net/download/ (Microsoft recommends a Non-thread-safe (NTS) installation package to be used). |
Launch the installation package and follow the instructions of the Setup Wizard.
First Step (Installation Start)
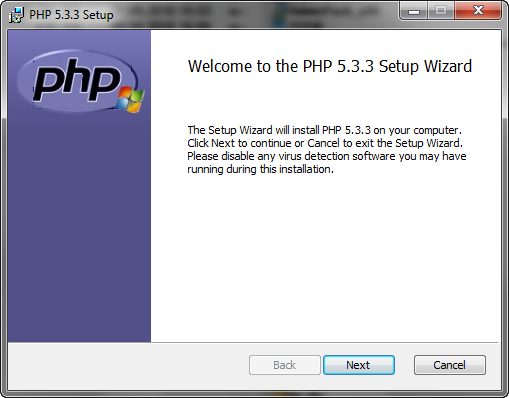
The first window of the Wizard informs about the commencement of the installation and provides information about the product.
Click Next.
Second Step of the Wizard (License Agreement)
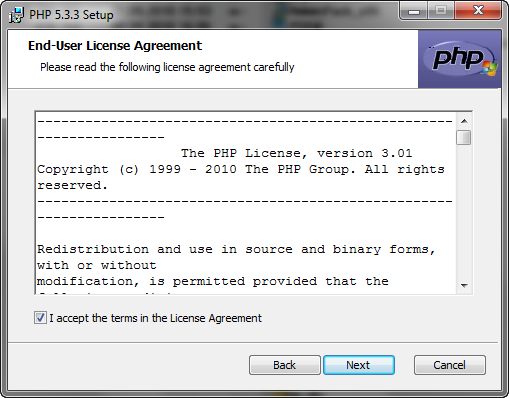
Read the license agreement carefully. If you agree with its terms and conditions, check the box I accept the terms in the License Agreement.
To proceed with the installation please click Next.
Third Step of the Wizard (Directory Selection)
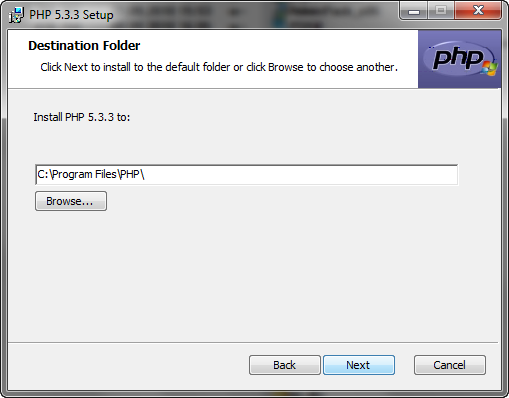
Please choose the directory to install the software and click Next.
Fourth Step of Installation (Web Server Selection)
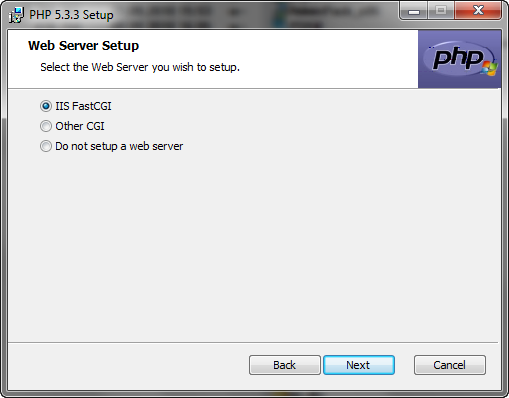
Please select IIS FastCGI as the installation web server and click Next to proceed with the installation.
Fifth Step of the Wizard (Component Selection)
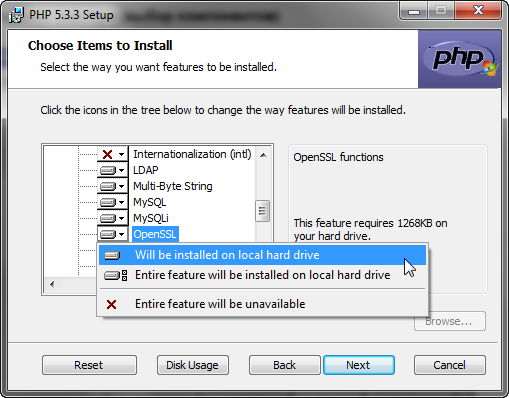
Include the necessary Extensions (PHP add-ins) to be installed:
- GD2;
- LDAP (in case you will use LDAP authorization);
- Multi-Byte String (this extension is required if product is to be used in the UTF-8 encoding);
- MySQL;
- OpenSSL;
- zip.
Note: said extensions may be manually added later as extension=name_of_extension_file.dll in the file php.ini in the folder where PHP was installed. For example: extension=php_win32scheduler.dll.
To continue the installation, please click Next.
Sixth Step of the Wizard (Installation)
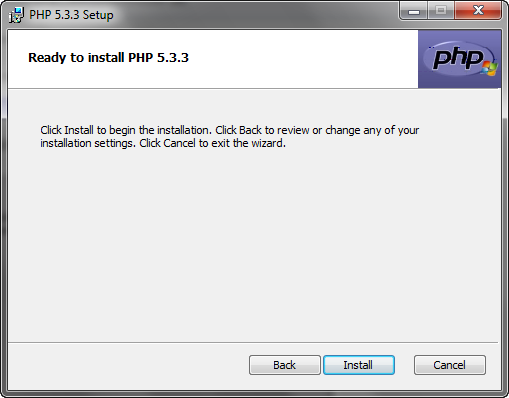
Click Install to start the installation process:
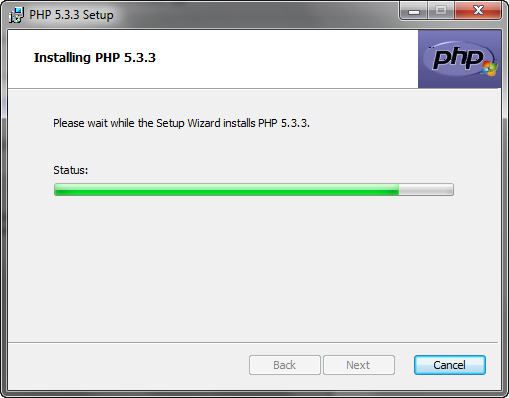
Please wait while the Setup Wizard copies and installs files.
Seventh Step of the Wizard (Completion of Installation)
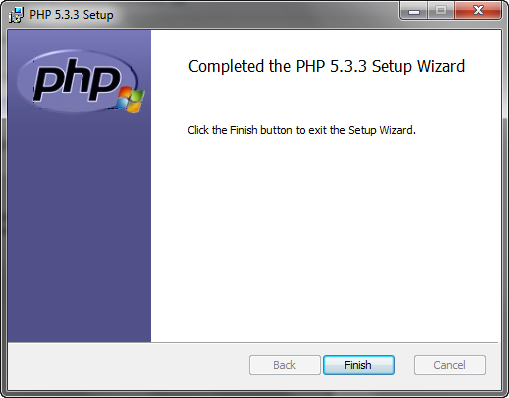
PHP has been installed successfully. Please click Finish to exit the Wizard.
PHP Setup
PHP must be setup immediately after its installation:
- Go to a folder where PHP was installed using any file manager.
- Open php.ini for editing.
- Please set the following parameters:
fastcgi.impersonate = 1
cgi.fix_pathinfo = 1
cgi.force_redirect = 0
short_open_tag = On
extension_dir = "C:\<path_to_folder>\PHP\ext"
upload_tmp_dir="C:\inetpub\temp"
session.save_path="C:\inetpub\temp"
allow_call_time_pass_reference = On
display_errors = On
Note: In Bitrix24 Self-hosted <? is used instead of <?php.
Note: inetpub means a location where sites will be placed. This folder exists by default.
Please do the following to check the PHP setup:
- Go to Start > Run;
- Open command prompt window using the command
cmd;
- Once in the command prompt window, go to a folder with PHP using the following command:
cd C:\<path_to_folder>\PHP\;
- Give the command info to php:
php –info.
If everything was done properly, the same configuration file will be offered (php.ini).