Views: 17465
Last Modified: 07.07.2020
|
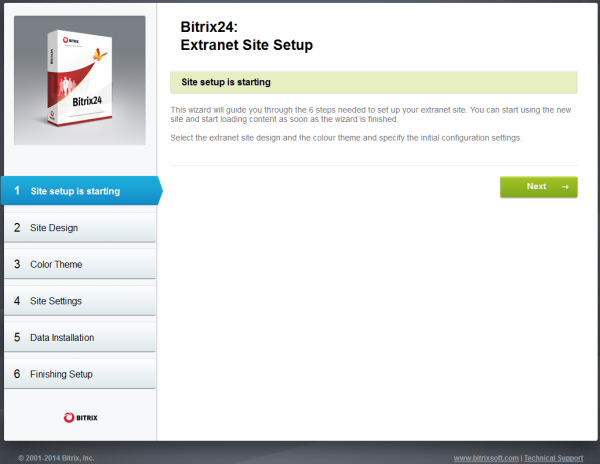
Wizard step 1 (Setup Start) |
The first window informs about the wizard’s start.
|
Wizard step 2 (Extranet Site Design) |
Automatic step where template is selected.
|
Wizard step 3 (Color Set) |
Automatic step where the color set is selected.
|
Wizard step 4 (Site Setup) |
Here, the main extranet settings are established: Company Name, Extranet Site ID, and Extranet Site Folder.
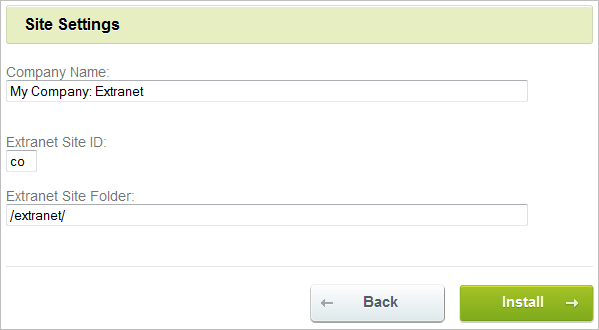
- In order to proceed, please click Install.
|
Wizard step 5 (Data Setting) |
Automatic step where all the extranet settings are determined. Graphic indicator helps to monitor the progress. When the installation is completed, the system will automatically move on to the next step.

|
Wizard step 6 (Installation Completion) |
The installation and setup are completed.
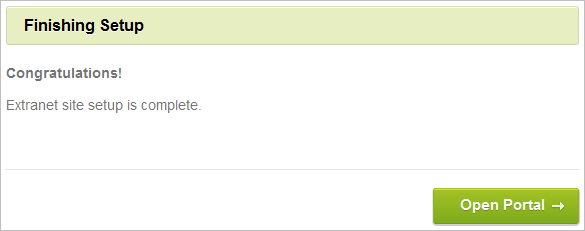
- Please click Open Portal to open the extranet home page.
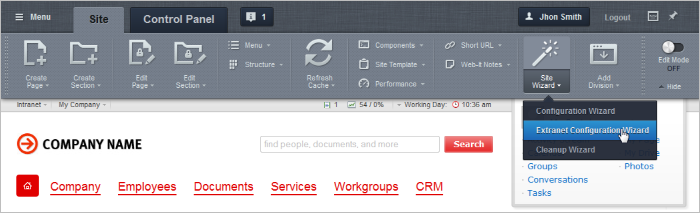
Note: the Extranet Wizard may also be launched again after the product installation. For example, in order to change the extranet template or other settings. The wizard may be launched by either of the following two manners:
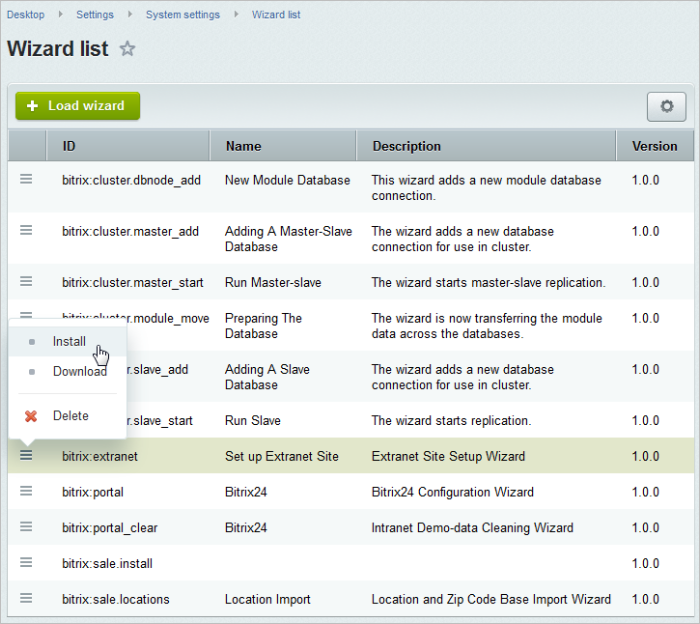
- Public interface: using the Wizard button on the Control Panel:
- Administrator’s interface: select Install option in the actions menu in the Corporate Portal Extranet Setup Wizard (Settings > System settings > Wizard list):