Last Modified: 01.04.2014
|
|
|
Views: 11666
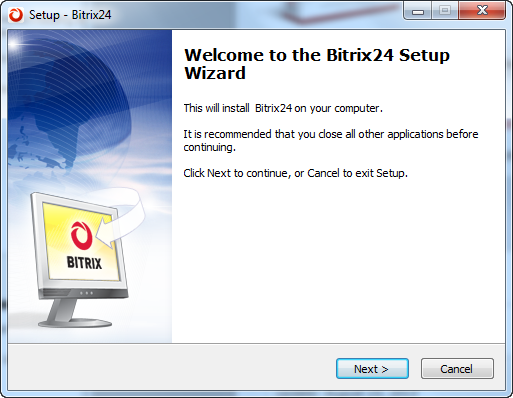
Last Modified: 01.04.2014 Step 1. The Initial Installation Screen
The first wizard window informs you that the installation is starting and displays the basic information about the product.
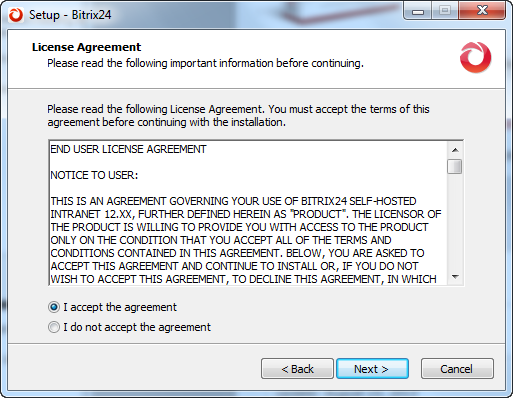
Step 2. The License Agreement
Read the Agreement carefully. If you accept the license terms, check the I accept the agreement box. You must accept the License Agreement to continue installation. Click Next to open the next window of the Wizard. Step 3. Bitrix Environment and Encoding
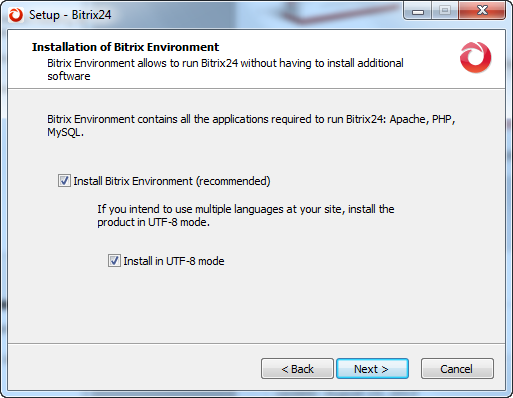
If you do not have Bitrix Environment installed on your machine, do the following:
This will download and run bitrix_env.exe, the Bitrix Environment package (see Installing Bitrix Web Environment) which will install all the required third-party software: MySQL 5.0.51, Apache 2.2.15, PHP 5.3.2, Catdoc - MS Office file indexing, xpdf- Adobe PDF file indexing, msmtp E-Mail Manager. Important: If you refuse to install Bitrix Environment, the wizard will proceed to the destination folder selection step. In this case, you will have to install all the required software manually. However, if, having installed Bitrix24 you find that you cannot install these applications without assistance, simply run the Wizard again.
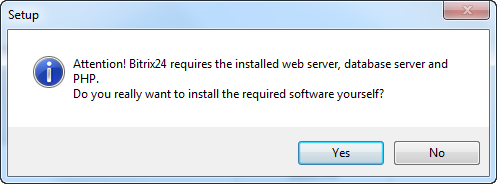
If you have previously installed Bitrix Environment package, uncheck the Install Bitrix Environment option. Confirm that you do not want to download and install it:
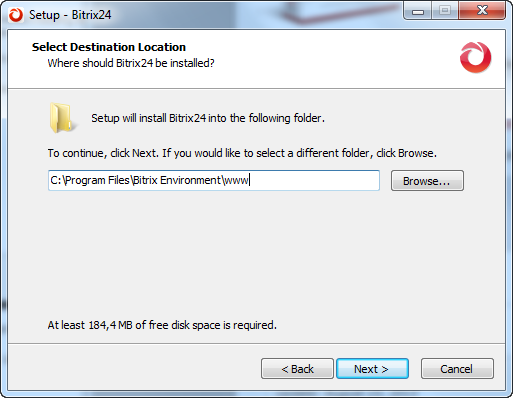
This will open the destination folder selection window.
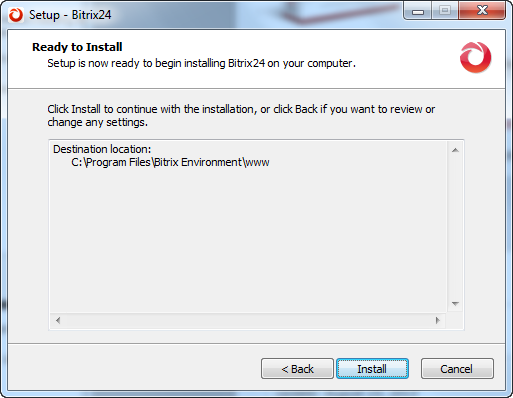
The installation confirmation window will appear.
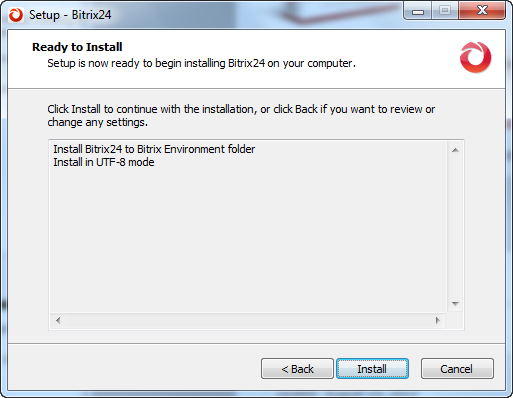
Review all settings. At this step, you still can change them if required by clicking Back.
Step 4. Ready to InstallThis window displays a summary of the installation preferences you have specified in the previous steps. Click Back if you need to change settings.
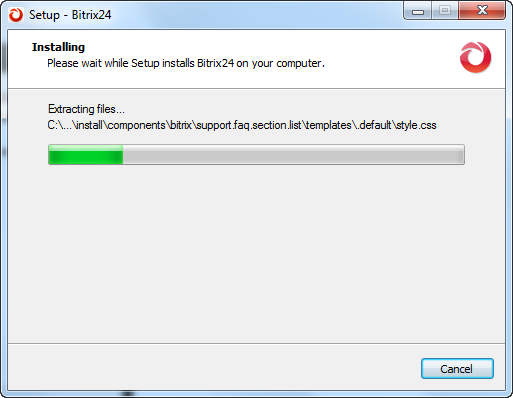
If you have chosen to download and install Bitrix Environment, the web environment installation wizard will start (see Installing Bitrix Web Environment). When it completes, the step 5 will follow. Step 5. Copying FilesThe installation of Bitrix24 is now starting.
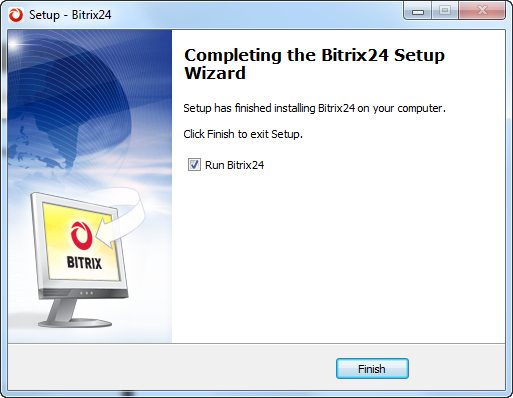
When the installation completes, the last window will open notifying that all the files have been copied successfully. Step 6. Final Step
This window informs that Bitrix24 files have been successfully copied to your machine.
Courses developed by Bitrix24
|
