Last Modified: 13.10.2021
|
|
|
Views: 5107
Last Modified: 13.10.2021 Attention! The exFAT file system support is limited, because this system does not support alternate data streams, used for metadata storage, specifically, synchronous version numbers.
File storageSome theory about the Drive file storage. All files are registered in the Bitrix24 kernel, in the database table specifically. The file content itself is located in cloud or locally. Drive module operates with records containing this table. Individually, Drive module is unaware where files are located. Module issues a command for loading and downloading a file, but the complete mechanism belongs to the Main module. The only peculiar aspect is working with Desktop app. It uses different mechanism to optimize handling of large-size files. File consisting of 5 Mb parts are uploaded to cloud directly from the app using Cloud storage module's API. Files in connected clouds are stored under their own names, created based on connected cloud's rules. Usually it's a sequence of inane letters and digits. It's impossible to download directly from cloud, the name retrieval process takes too long. Standard business logic is as follows: upload via account, access permissions are checked at the system's kernel level: is there a spot for this user type (free, paid user), whether this users can upload files at all, if this user can upload file to a specific folder and etc. The Drive module provides protection from CSRF attacks. You won't be able to directly upload/download a file using REST API as well, due to the required access token, stored at Bitrix24 server. Other issues are possible as well while using a third-party application and developer making an error resulting in any user getting admin access permissions. In case of native errors, admin access permissions error is an example of potential errors in Bitrix24 On-premise.
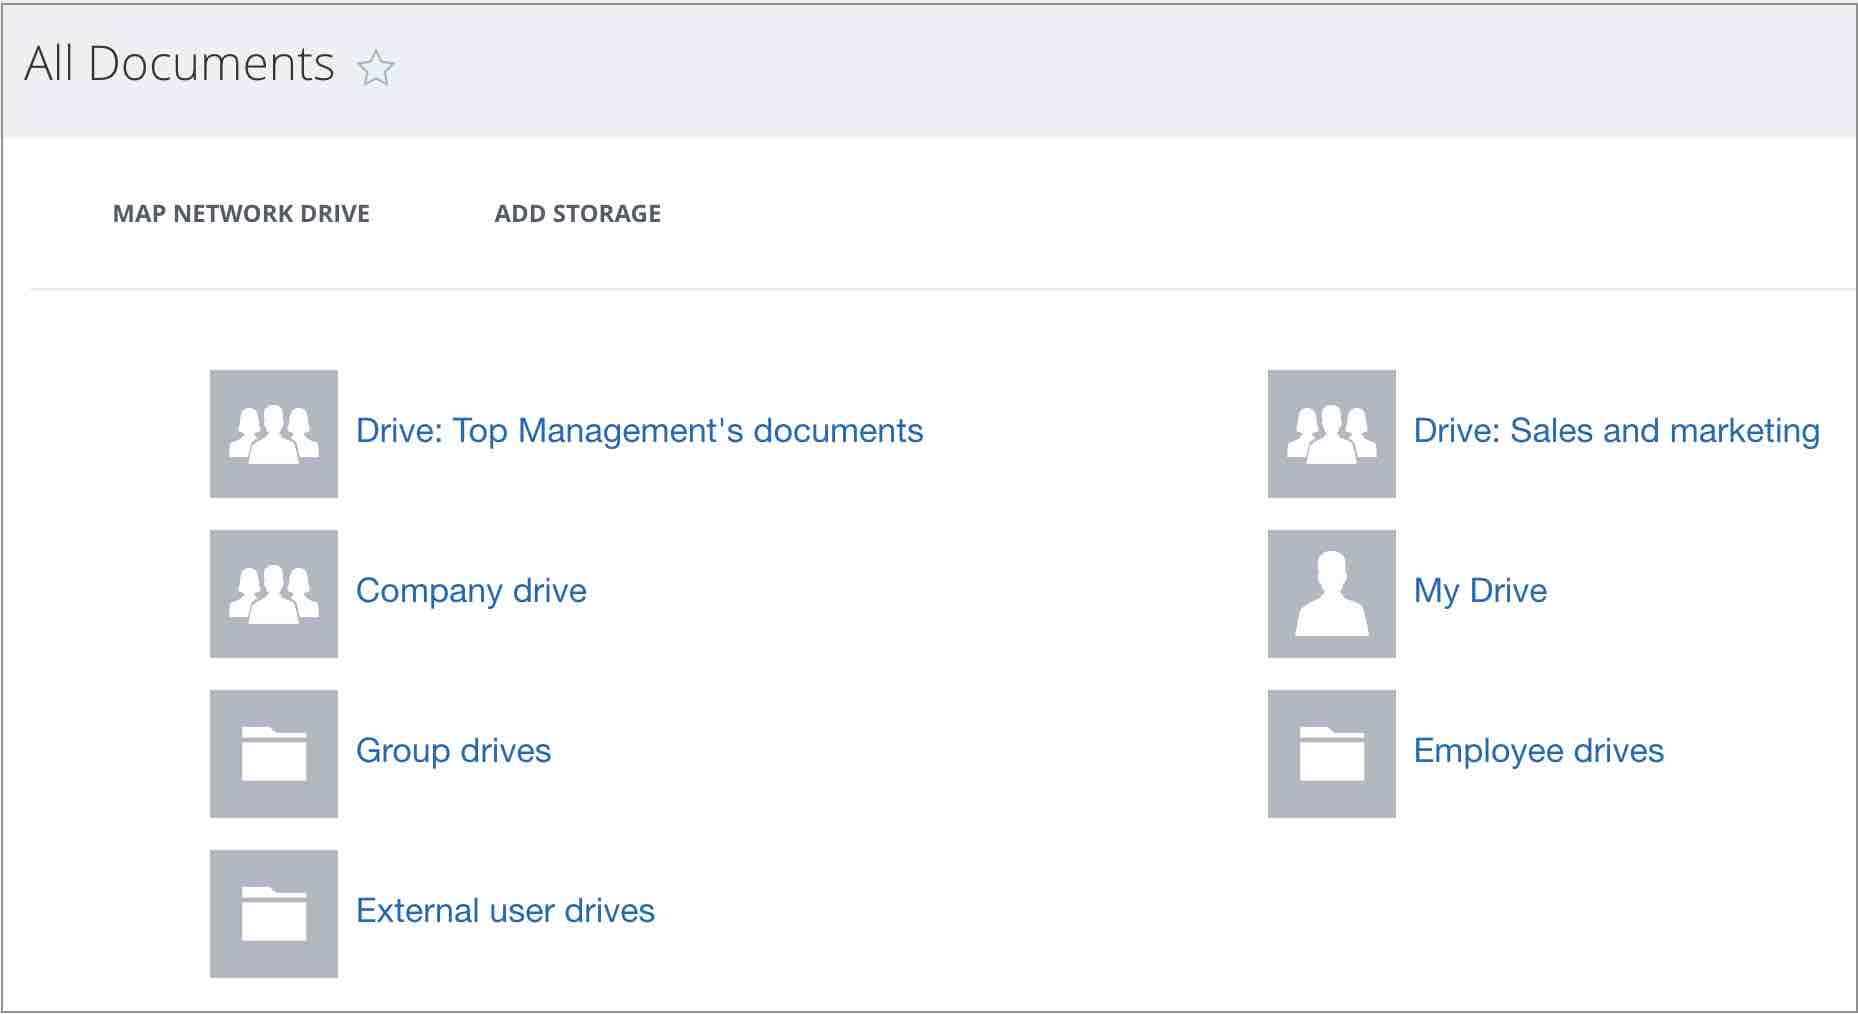
Adding a storageTo correctly add a new storage, System administrator must go to the page https://your_account/docs/index.php:
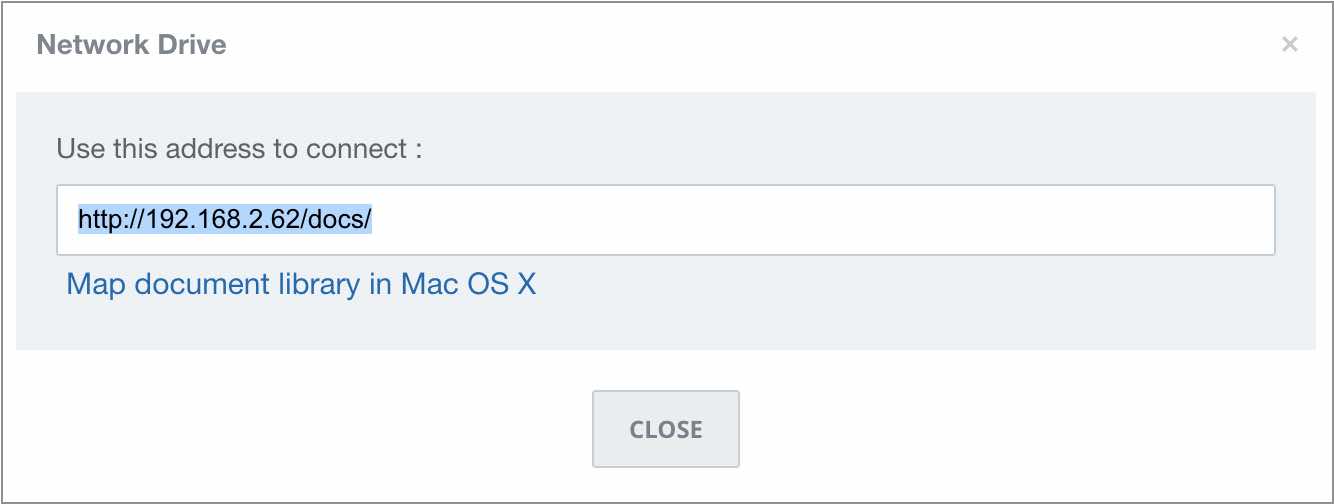
When an existing network must be connected, use the link Map network drive. Inside the
opened window
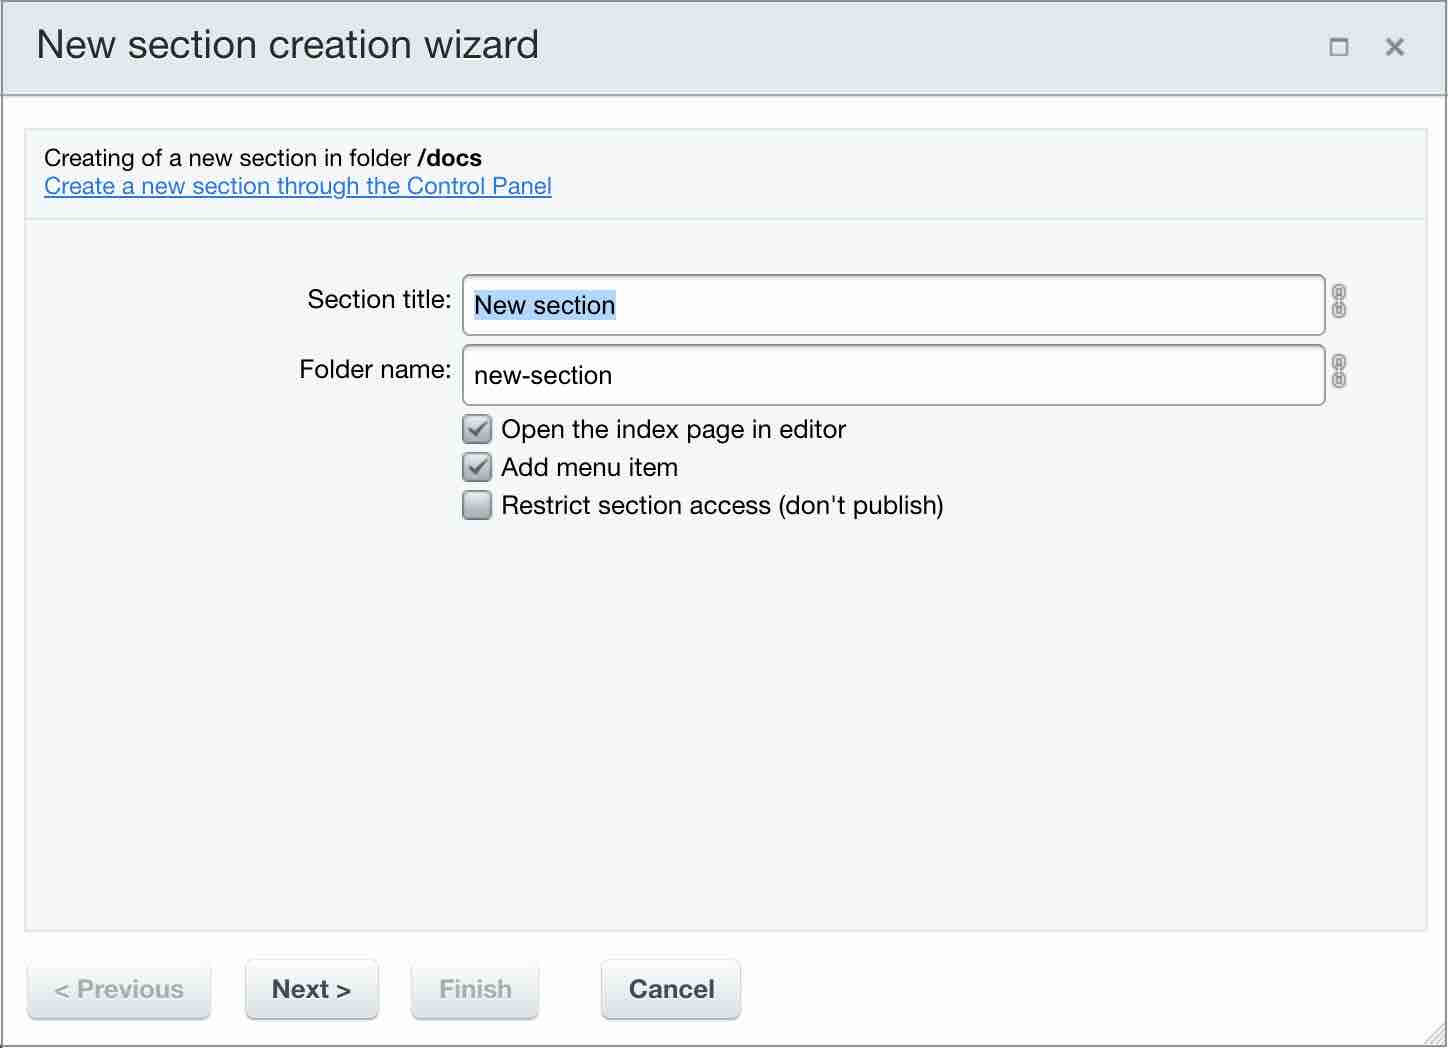
When a new created storage is required, click on the Add storage link and a wizard window opens:
Proceed in completing wizard steps. All windows in steps are quite informative without documentation - however, when issues occur, go to the description for creating library The product has option to handle company's document library. Using the Library document and Information block libraries available in the product. in Document library. The wizard has the same procedure, except for iblock handling at the third step: Drive module does not support iblocks. Drive renaming.How to rename the drive (displayed name) using API. User storages "monitor" user renaming events and then rename themselves. If required to rename via API, proceed wit реру following actions: <?php
\Bitrix\Main\Loader::includeModule('disk');
$storageId = 100; //Drive storage ID to be renamed. See table b_disk_storage
$newName = 'Tomorrow'; //new, desired name
$errors = null;
$storage = \Bitrix\Disk\Storage::loadById($storageId);
if($storage)
{
if(!$storage->rename($newName))
{
$errors = $storage->getErrors();
}
}
Drive deletingDeleting a group or user, deletes its drive as well. Deleting via API is as follows: <?php
\Bitrix\Main\Loader::includeModule('disk');
$userId = 1; //user ID, executing the deleting
$storageId = 100; //Drive storage ID to be renamed. See table b_disk_storage
$errors = null;
$storage = \Bitrix\Disk\Storage::loadById($storageId);
if($storage)
{
if(!$storage->delete($userId))
{
$errors = $storage->getErrors();
}
}
Handling group driveNot any user connects the drive when joining a group, but production objectives require such action. Administrator can use API to manage connection processes to connect drives for all users. How to delete group drives? <?php
\Bitrix\Main\Loader::includeModule('disk');
$userId = 1; //user ID to execute deleting
$groupId = 345; //social network group ID, which storage must be deleted
$errors = null;
$storage = \Bitrix\Disk\Driver::getInstance()->getStorageByGroupId($groupId);
if($storage)
{
if(!$storage->delete($userId))
{
$errors = $storage->getErrors();
}
}
How to connect group drive with ID 345 to user 444 <?php
\Bitrix\Main\Loader::includeModule('disk');
$groupId = 345; //social network group ID
$toUserId = 444; //user ID to which group storage must be connected.
$errors = null;
$groupStorage = \Bitrix\Disk\Driver::getInstance()->getStorageByGroupId($groupId);
if($groupStorage)
{
$errorCollection = new Bitrix\Disk\Internals\Error\ErrorCollection;
if(!\Bitrix\Disk\Sharing::connectGroupToSelfUserStorage($toUserId, $groupStorage, $errorCollection))
{
$errors = $errorCollection->toArray();
}
}
How to disconnect group drive with ID 345 from user 444 <?php
\Bitrix\Main\Loader::includeModule('disk');
$userId = 1; //user ID to execute deleting,
$groupId = 345; //social network group ID
$toUserId = 444; //user ID to which group storage must be disconnected
$errors = null;
$groupStorage = \Bitrix\Disk\Driver::getInstance()->getStorageByGroupId($groupId);
if($groupStorage)
{
$errorCollection = new Bitrix\Disk\Internals\Error\ErrorCollection;
$sharing = \Bitrix\Disk\Sharing::load(array(
'=TO_ENTITY' => \Bitrix\Disk\Sharing::CODE_USER . $toUserId,
'REAL_OBJECT_ID' => $groupStorage->getRootObjectId(),
'REAL_STORAGE_ID' => $groupStorage->getId(),
'TYPE' => \Bitrix\Disk\Internals\SharingTable::TYPE_TO_USER,
));
if($sharing)
{
if(!$sharing->delete($userId))
{
$errors = $sharing->getErrors();
}
}
}
Courses developed by Bitrix24
|


