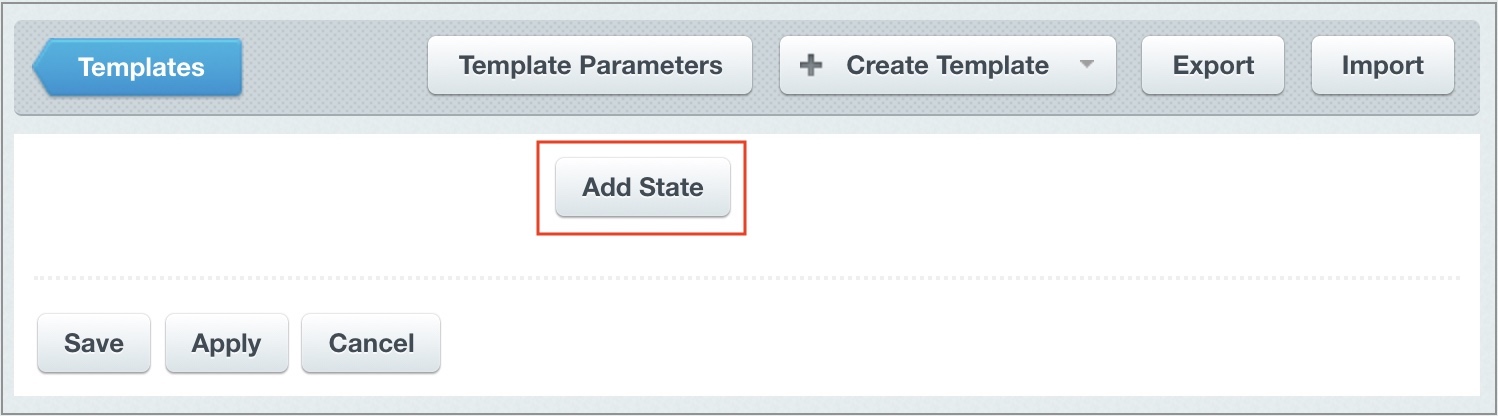
Creating statuses is performed at the main page for workflow template:
Click the button
Add state
to create a new status.
Important! Workflow always starts from the first created status. You cannot modify later the status from which workflow (business process) has started.
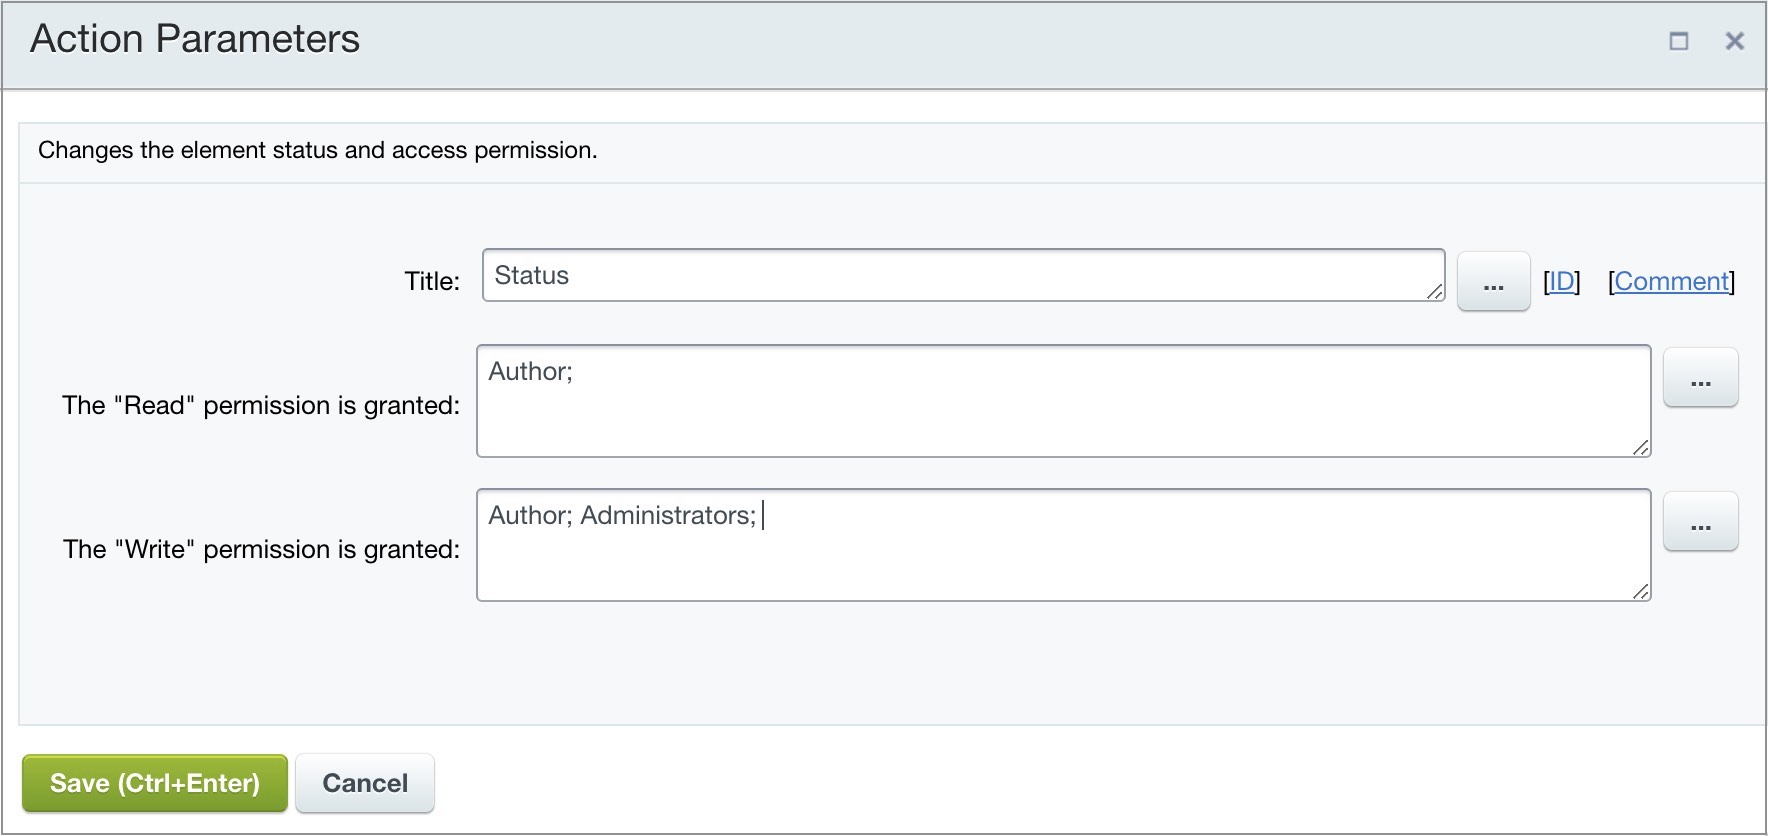
The
status form
contains its name and access permissions to a workflow element.
Save status.
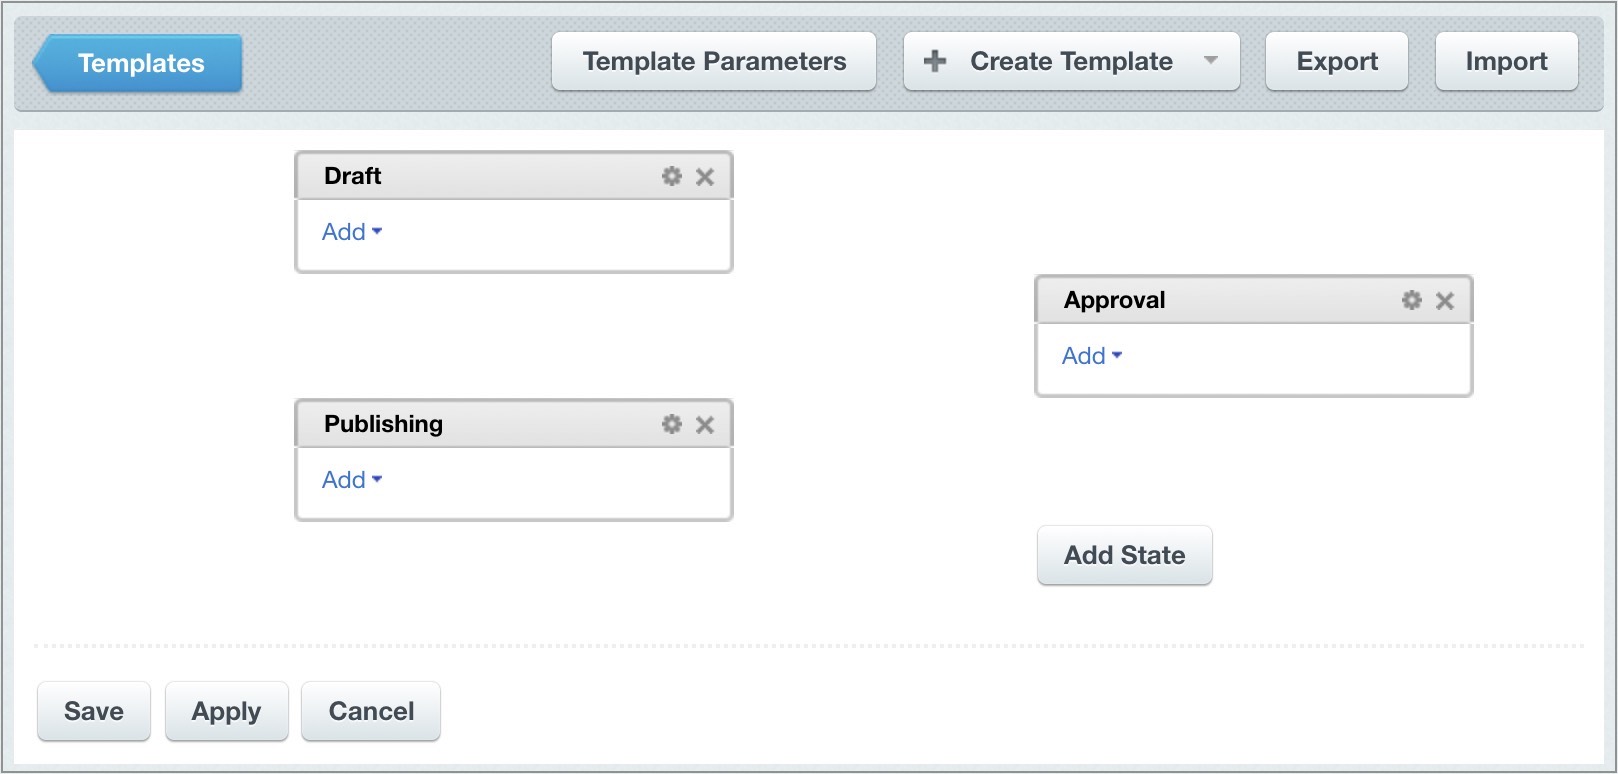
In the similar manner, all the required
statuses
For example, such statuses can be added into the template:
are added.
Setup of actions inside each status and creating links between statuses
After creating all the statuses, configure operations and actions (subprocesses), executed in each status, as well as create links between statuses.
The following is configured for each
status
:
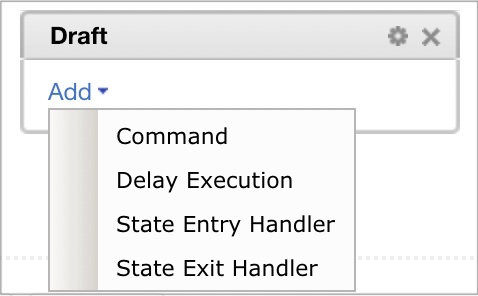
Command action allow user to launch subprocess manually. External control element used to launch a command depends on the workflow start location and element type. The command is used, for example, to define how a workflow must be executed; or as subprocess to be executed under specific conditions.
Delay execution
Action is similar to Execution pause action for a sequential workflow template.
- allows to
postpone
This action is convenient when some actions must be executed without employee participation
execution of subprocess for the handler- specified time period.
State Entry Handler - separate sequential workflow. Always executed automatically when entering into this status.
State Exit Handler - separate sequential workflow. Always executed automatically when
exiting
For example, sending a message notifying the process exited from current status.
the current status.
Status access permission setup
By default, workflow uses access permissions for an element. However, each status requires additional access permissions that will be added to element permissions in this status specifically. Below is the example for access permission setup for an element and specific status based on lists.
Indicate the following access permissions in the list settings: Employees = add; Author = read. After such setup, the employee can add list element and view only his own, but cannot view current workflow status at the corresponding tab upon opening list detail view.
Note: The main point is to highlight that access permissions for a list and for a workflow - are two different sets of permissions. Accordingly, list rules (iblocks) they do not "recognize" such user type as Author (this terminology is used only for workflows).
Inside the required status settings, indicate that Author has read level access permissions. In this case, workflow access permissions will be added to list access permissions and Author entity will match with enduser and its access permissions in the list. After such setup, user will be able to view corresponding workflow status.
General process overview
When reaching first status, executes State Entry Handler, if available. After executing all internal status actions, workflow transitions into standby mode. To continue executing the process, use the subprocesses Delay Execution and Command.
Note: when State Entry Handler contains added transition to another status that interrupts execution of current status, workflow executes State Exit Handler after it. In this case, subprocesses Delay Execution and Command will be skipped.
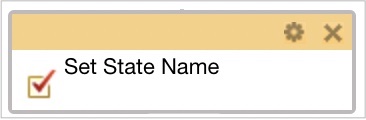
When the status is not final, transition from one status to another (creating links) via the action
Set state
Action allows moving workflow into another status.
, which must be located inside subprocess aimed at such transition. Upon exiting from such status, automatically executes subprocess State Exit Handler, if it was created.
Example of status setup
Let's overview adding a command for Draft status:
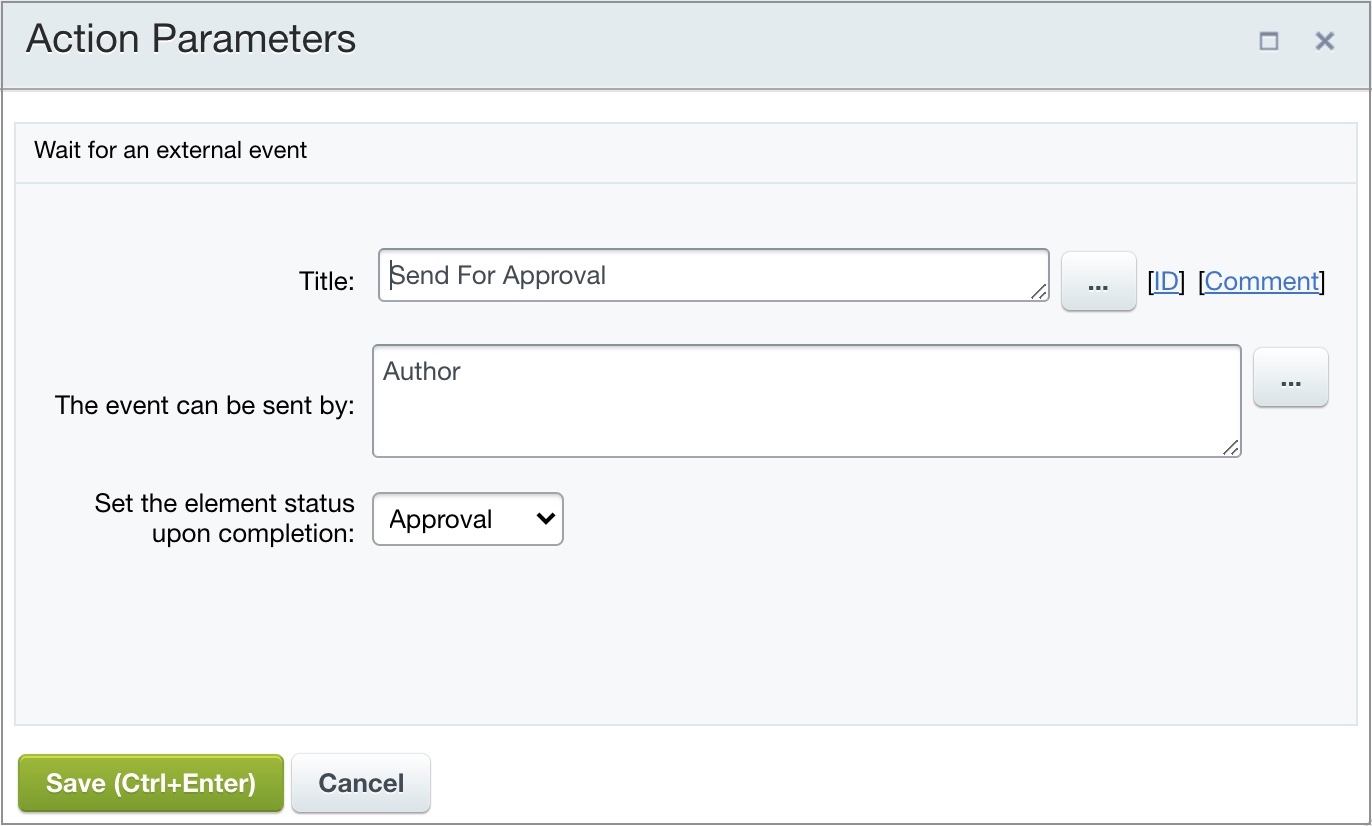
Select Command item from the dropdown menu for such status. It opens
settings form
for main command parameters.
Indicate command name and users that can execute this command. When element must change status after executing the command, select the necessary status via dropdown list. List of statuses is generated from workflow statuses.
Save the command parameters.
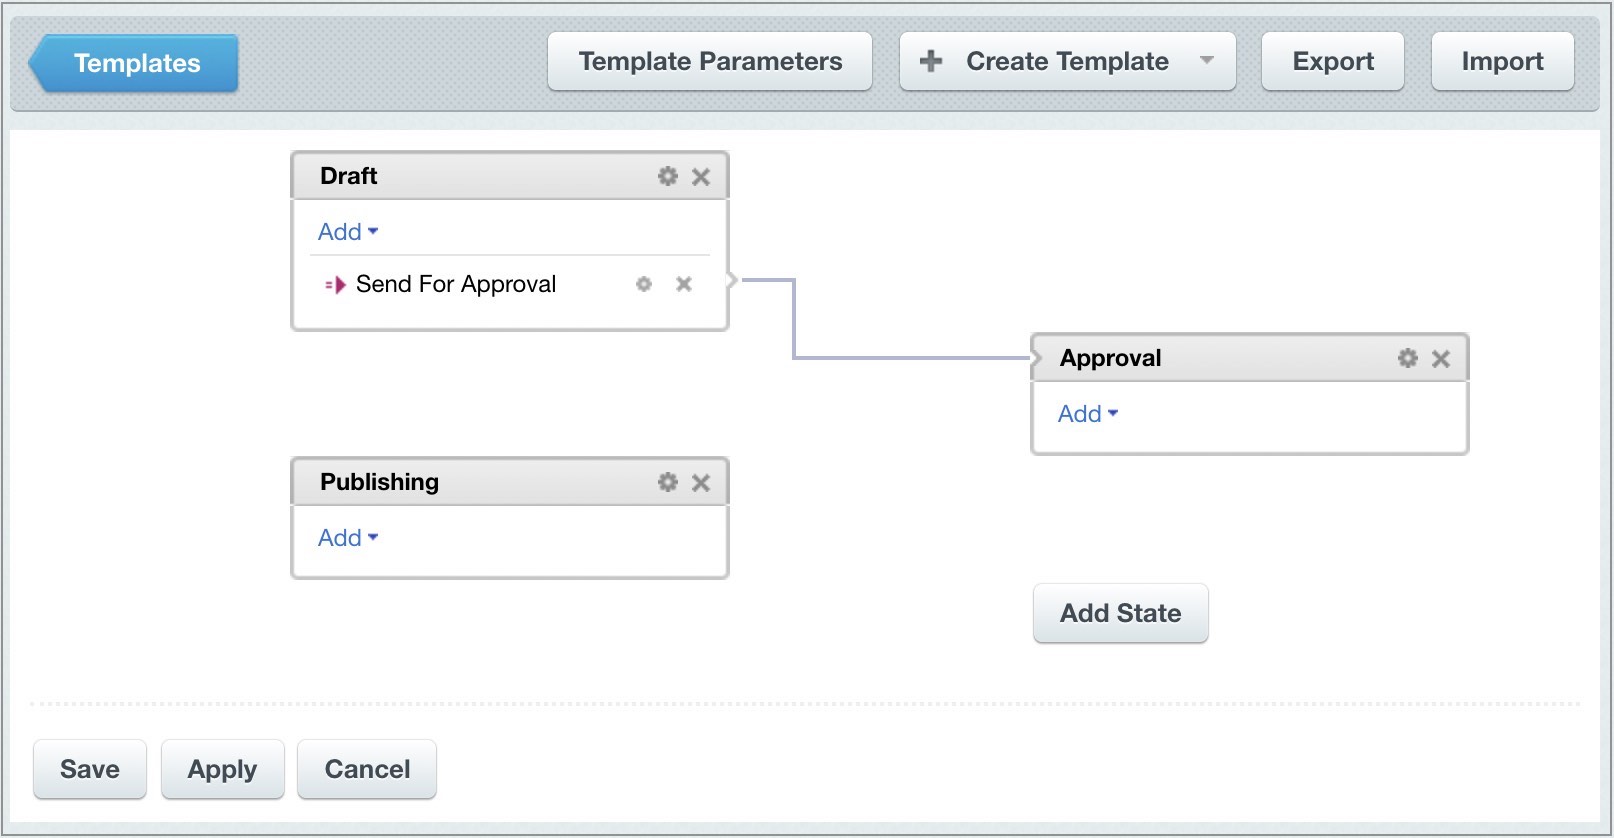
The result creates an action in status and the
link
between statuses.
Because the command - is an individual workflow, such workflow must be created:
Double-click the command name. It opens
visual designerVisual designer tool is part of Workflow designer module, allowing to create and edit workflow templates.
. The designer already contains Set status, because executed command changes workflow status. Add necessary actions into command layout and configure them. Use the button Back To States to return to workflow template page with statuses ("states").
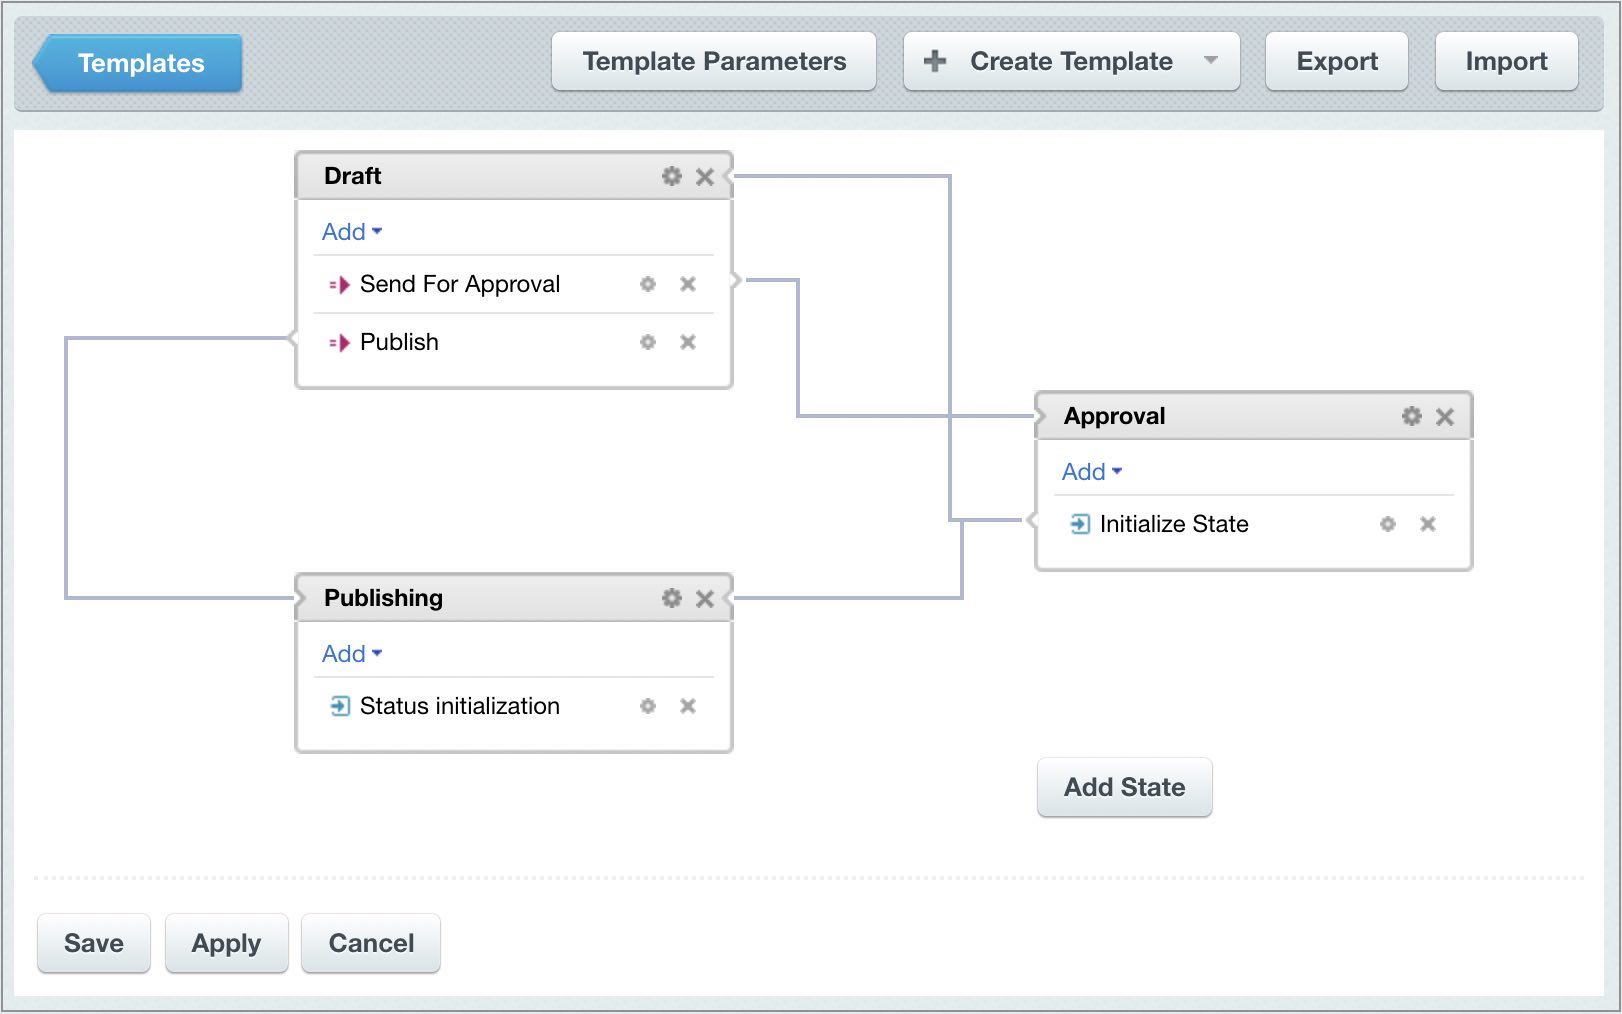
To configure actions in each status, repeat the steps described above. Result:
After completing the required settings, do not forget to save the template using the Save button, available at the main page with workflow statuses.