Views: 4177
Last Modified: 17.08.2021
The following is required for creating a new company workflow:
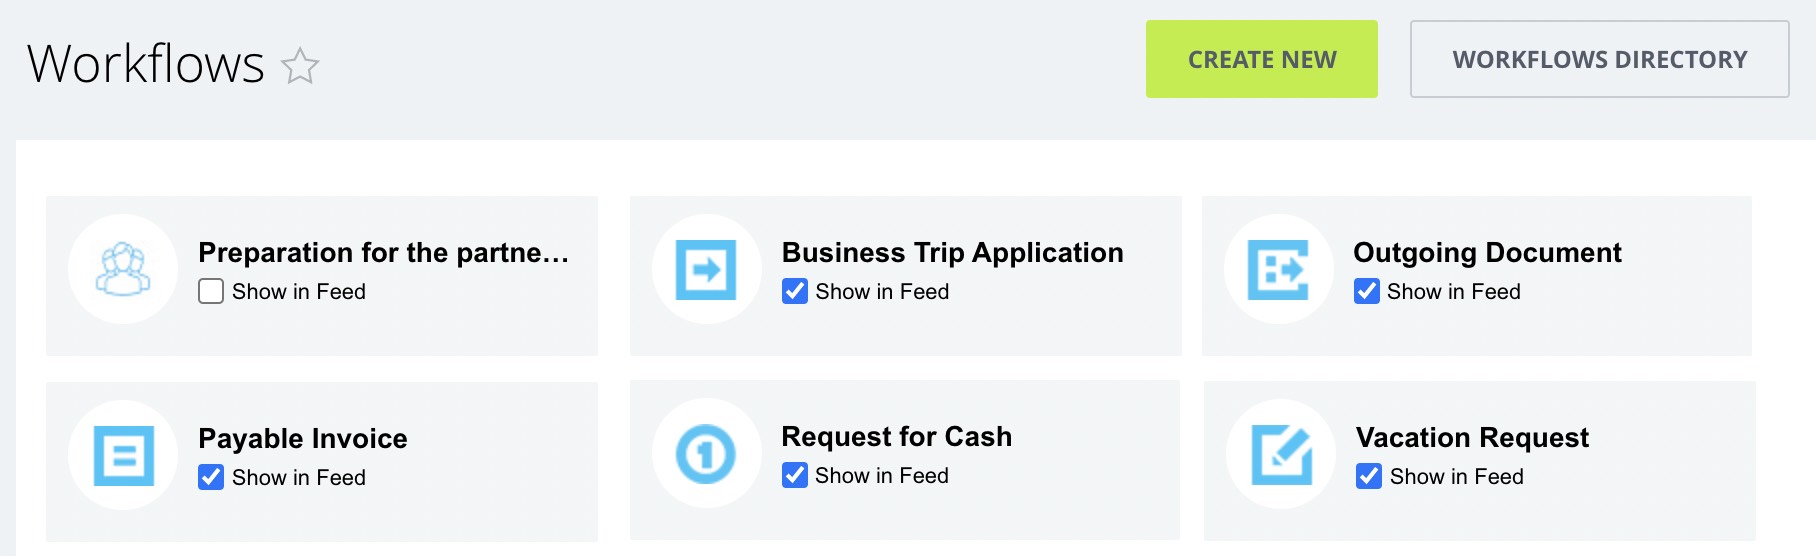
Click on Create new button:
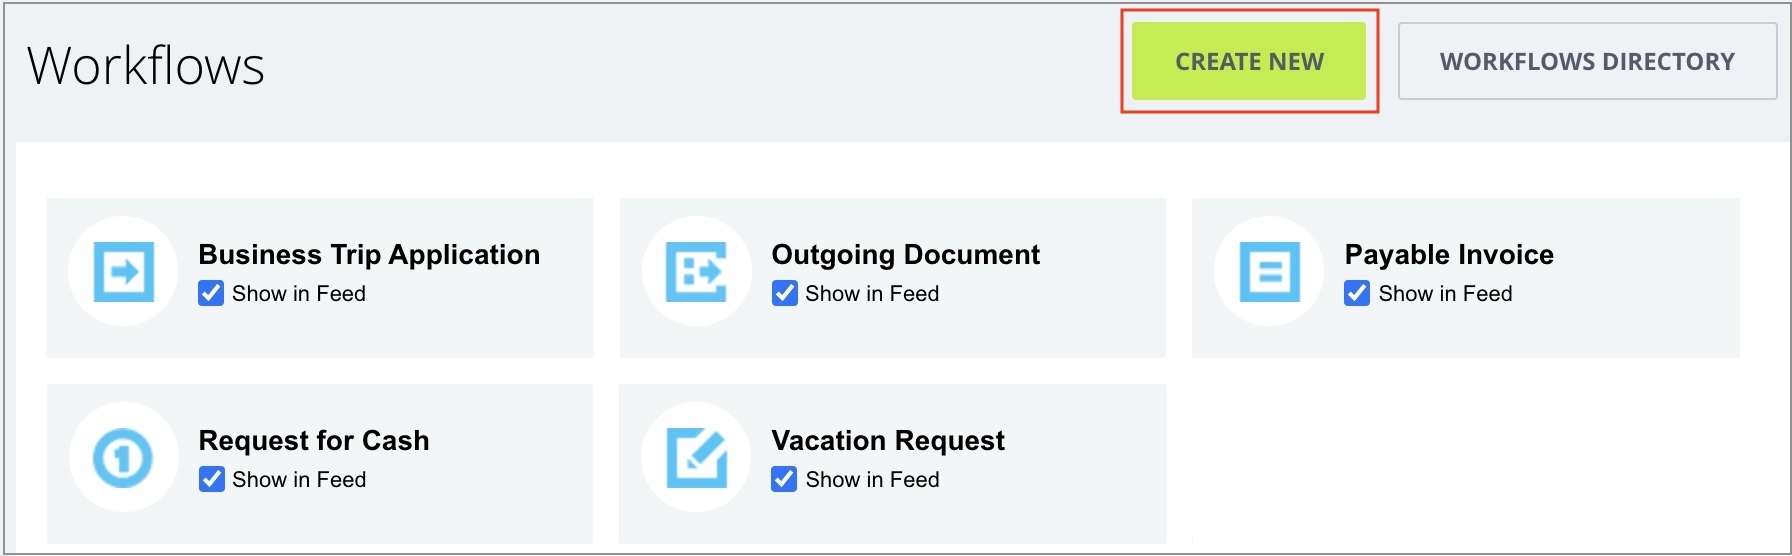
Please note, this button is available only with available access permissions for the iblock type, containing the workflow. By default, the button is available only to the System administrator.
Opens form for creating new workflow:
-
The Settings tab contains main workflow config details
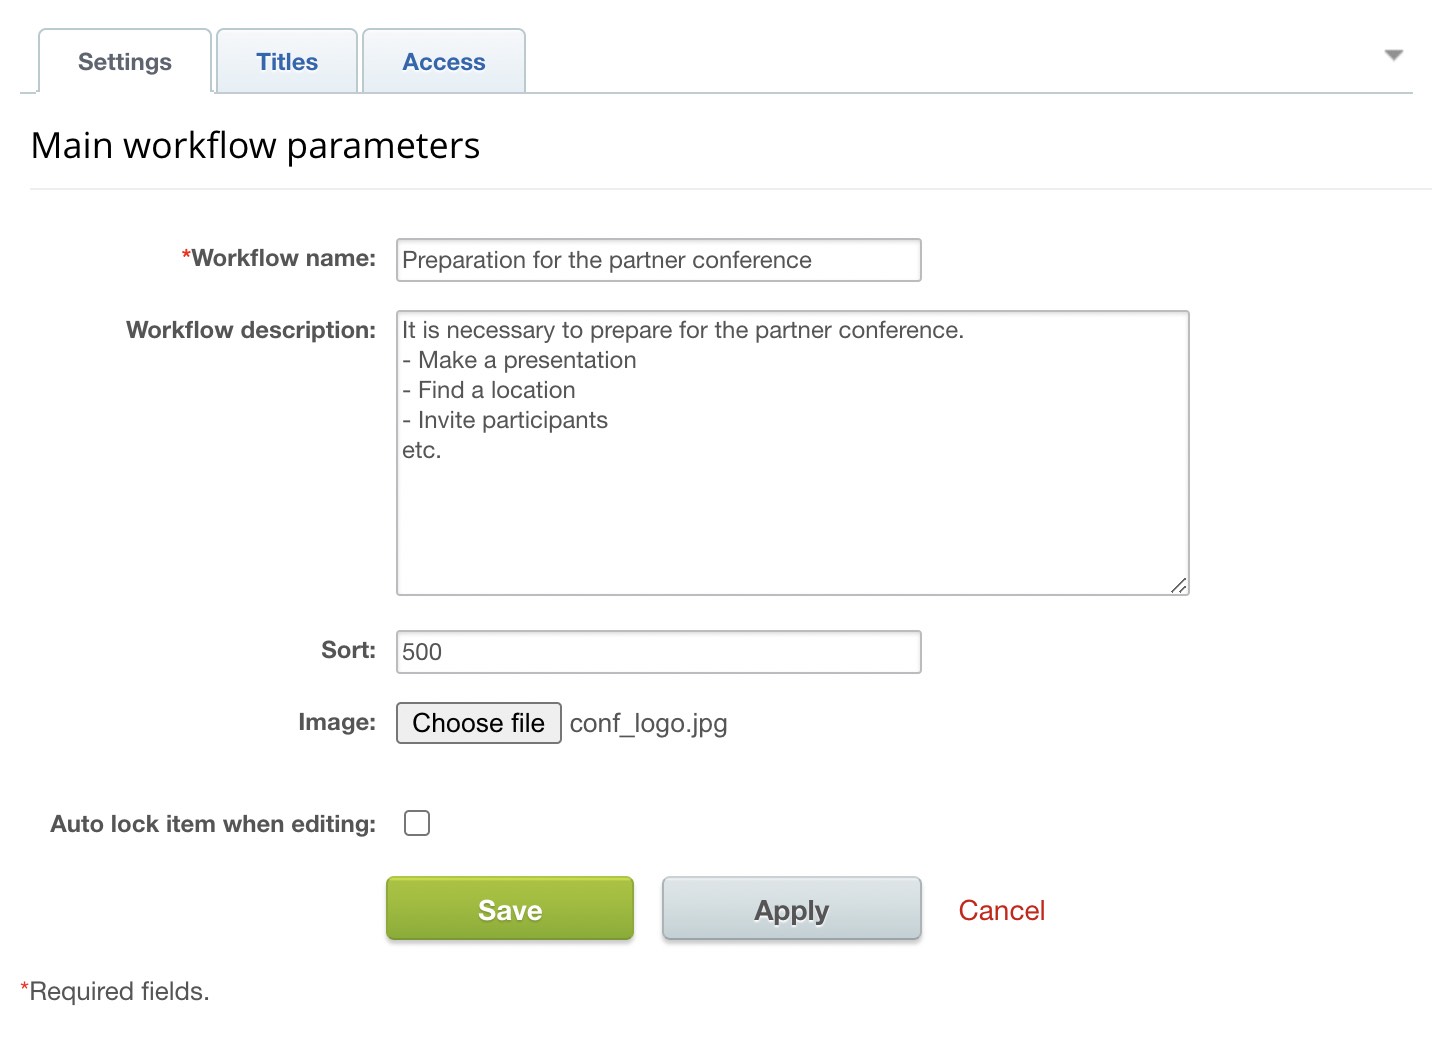
- Workflow name - title for a new company workflow.
- Workflow description - arbitrary description.
- Sorting - workflow sort index, determining its position in general list. The lower, the higher it will be placed in the list.
- Image - workflow image.
-
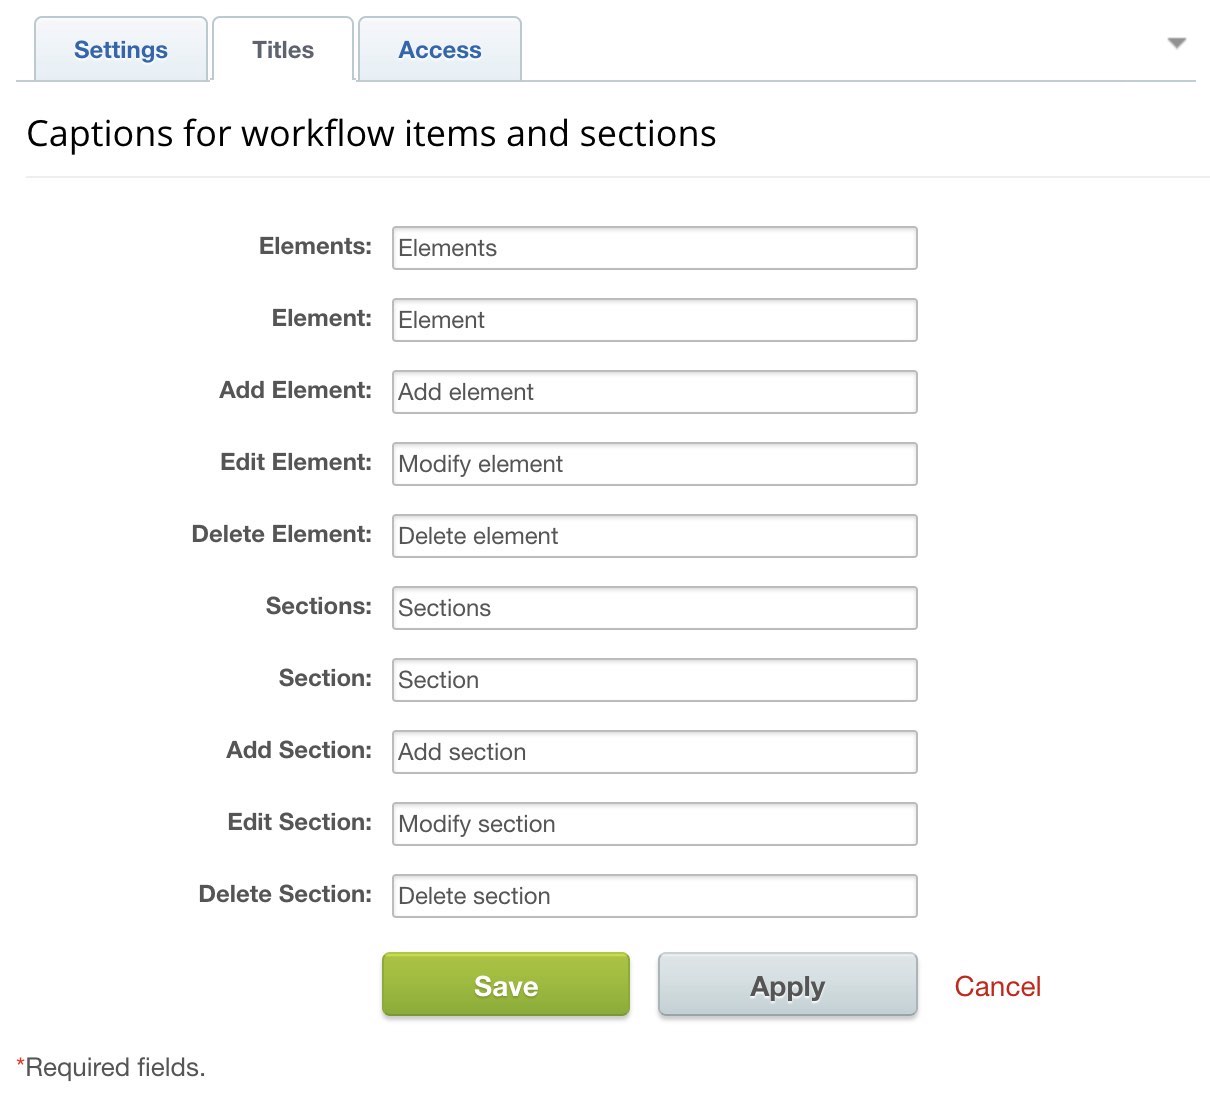
The Titles tab contains titles to workflow sections and elements. You can configure them as required and customize it as suits to your workflow contents.
-
You can assign access permissions for handling workflow for both complete groups and individual users inside the tab Manage access permissions for workflow items and sections.
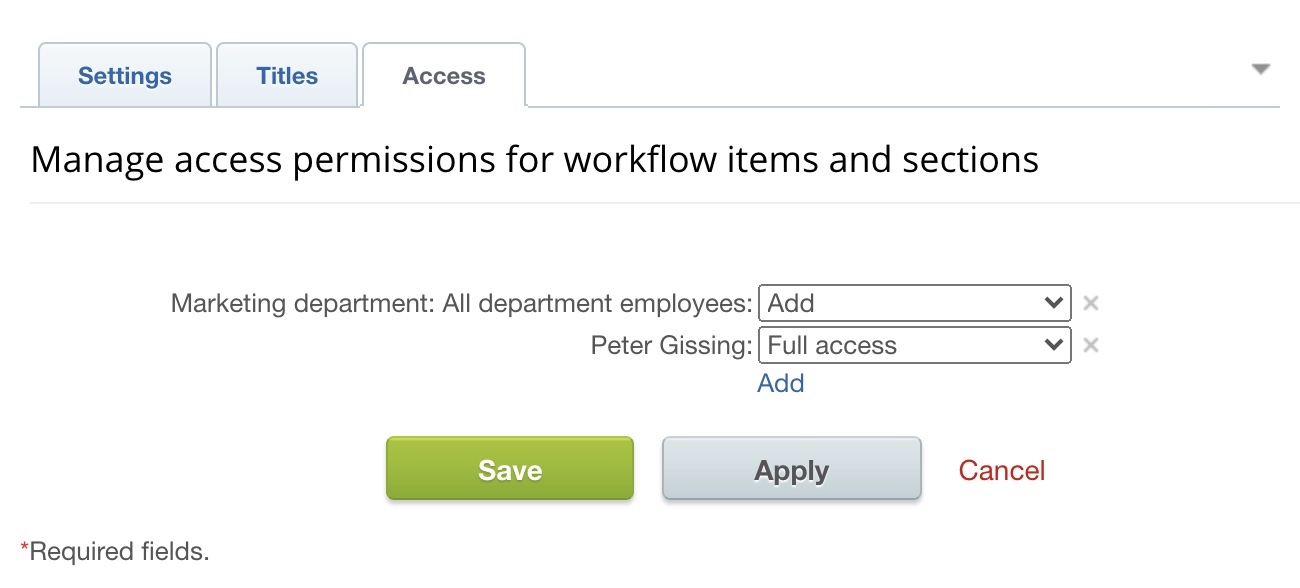
Complete all fields as required and click on the Save button. After saving, your workflow will be displayed in the general workflow list.
After your workflow was created, it can be customized and edited by clicking on it inside the list with all workflows.
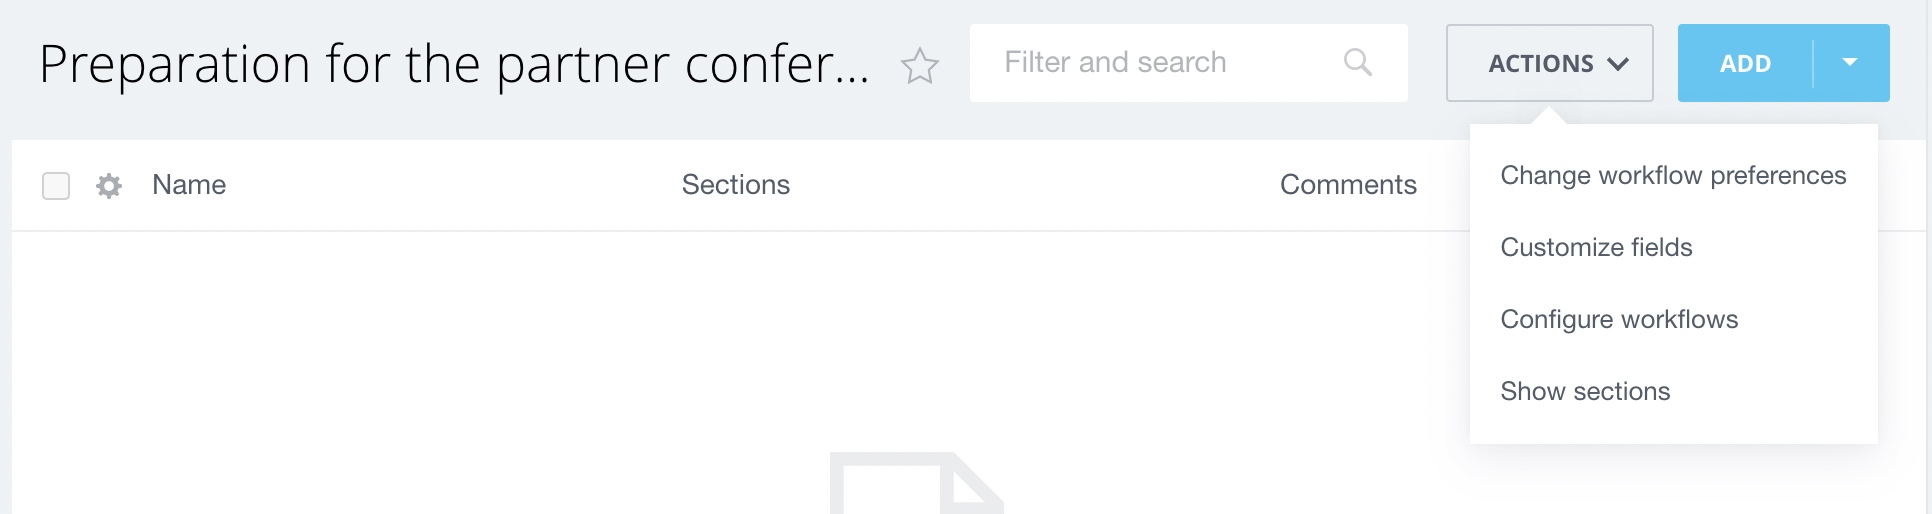
The following tabs can be selected in the displayed menu:
- Add element - launch instance of this workflow. Essentially this action is identical to calling a workflow from My workflows tab.
- Section management - creating sections for elements grouping
- Workflows creating/editing via Workflow designer
- Workflow settings - open workflow settings menu
- Export to Excel - element export to Excel