Views: 19132
Last Modified: 05.09.2024
Remember that you have to set the parameters of the standard level prior to configuring the higher protection levels.
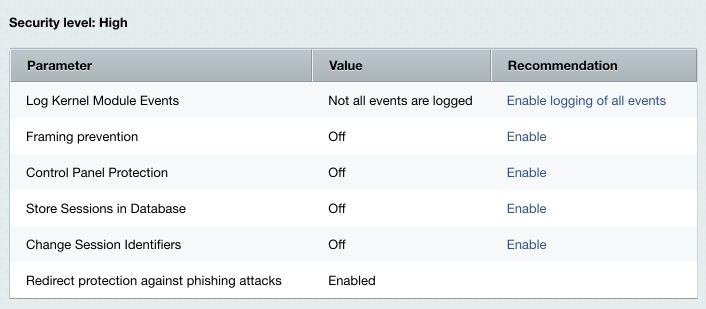
Note: if some of the high protection level parameters are incorrect, the standard protection level takes effect with respect to parameters of other protection levels, or basic if the standard level have been configured incorrectly.
Logging the Kernel Events
The Log Kernel Module Events parameter embraces a number of the kernel module options:
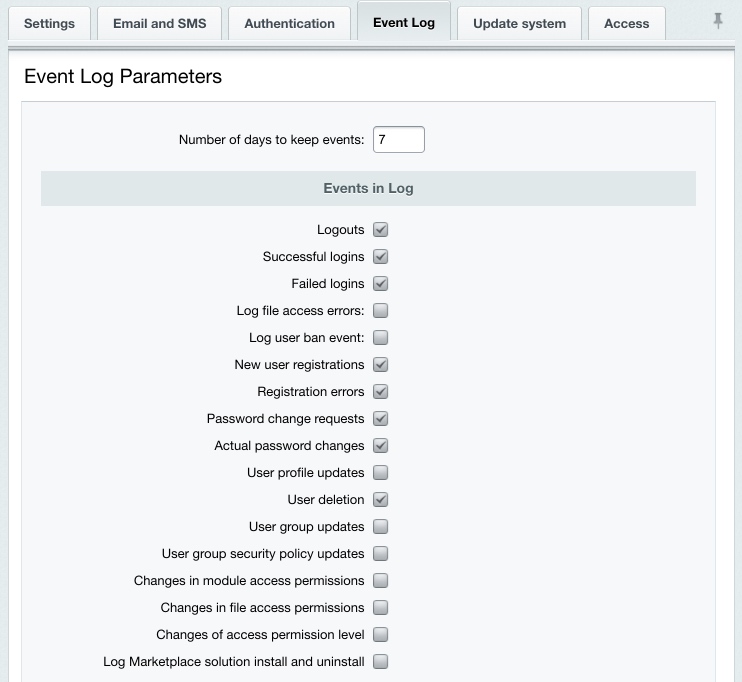
Enable all the events on this sheet for the site to be protected at the high security level. Even if one of the options is not checked, the Log Kernel Module Events parameter is considered to be taking a mismatching value which causes the site to be protected at the standard (or basic) security level.
Protection for the Site Control Panel
The site control panel is protected by denying access from all IP addresses except for those specified in the settings. You can enable or disable the protection at Settings > Proactive Protection > Control Panel Protection using Enable Protection (or Disable Protection).
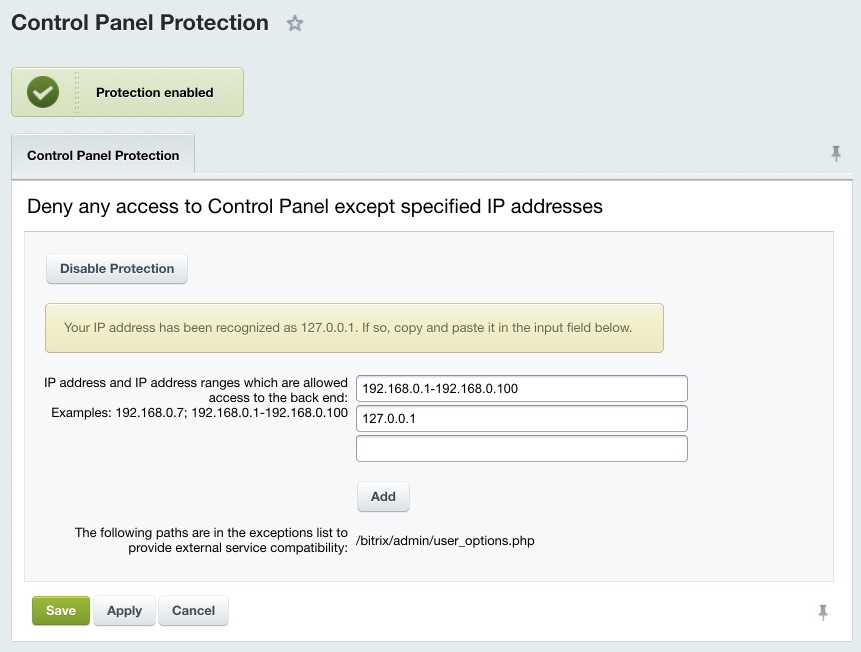
Note. Before enabling the Control Panel protection, specify here the IP addresses or address range of clients allowed to access Control Panel.
Secure web projects must have the Control panel protection enabled.
Note. To remove the IP address restrictions, create a special flag file and specify the file pathname in the
Proactive Protection module settings. The default name format is
ipcheck_disable_cef<32_random_characters>.

The Session Storage and Session ID Change
Most web attacks are purposed to steal the session data of an authorized user or, what is more valuable for attackers, of an administrator. The standard Bitrix Site Manager package controls the following session protection parameters, for each user group individually:
- Session lifetime (min.);
- Session Network Mask.
However, it is often impossible to restrict access because users may use dynamic IP addresses. The following two protection techniques of the Proactive protection module significantly add to the standard protection mechanisms:
- storing sessions in the Security module database;
- changing session ID’s after specified intervals.
In order to enable or disable storing the user session in the database, click the big button, the only control on the Settings > Proactive Protection > Session Protection page.
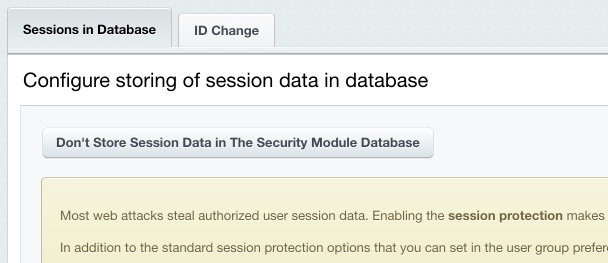
Storing session data in the module database prevents data from being stolen by running scripts on other virtual servers which eliminates virtual hosting configuration errors, bad temporary folder permission settings and other operating system related problems. It also reduces file system stress by offloading operations to the database server.
Note. Switching the session store mode causes all the logged-in users to lose authorization because this erases the user session data.
You can configure the session ID change mechanism on the Change ID's tab of the session protection settings form.
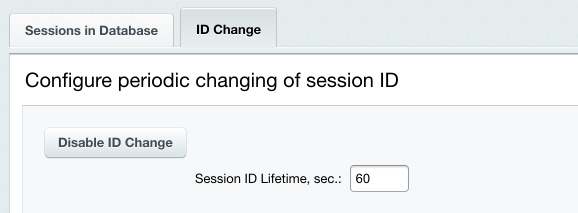
Do the following to activate the ID change:
- specify the Session ID Lifetime (in seconds), which is the interval between two consecutive session ID changes;
- click Enable ID Change.
Changing the identifier increases the server load but makes the authorized session hijacking ineffective.
Note. The high protection level requires that you enable both of these protection mechanisms.
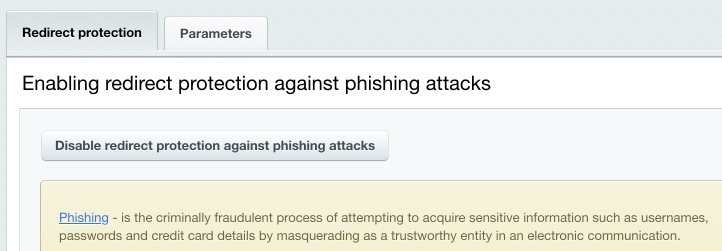
Redirect Phishing Protection
You can enable or disable the phishing protection at Settings > Proactive Protection > Redirect protection by clicking the button Enable redirect protection against phishing attacks (or Disable redirect protection against phishing attacks).
The following picture illustrates the phishing protection parameters:
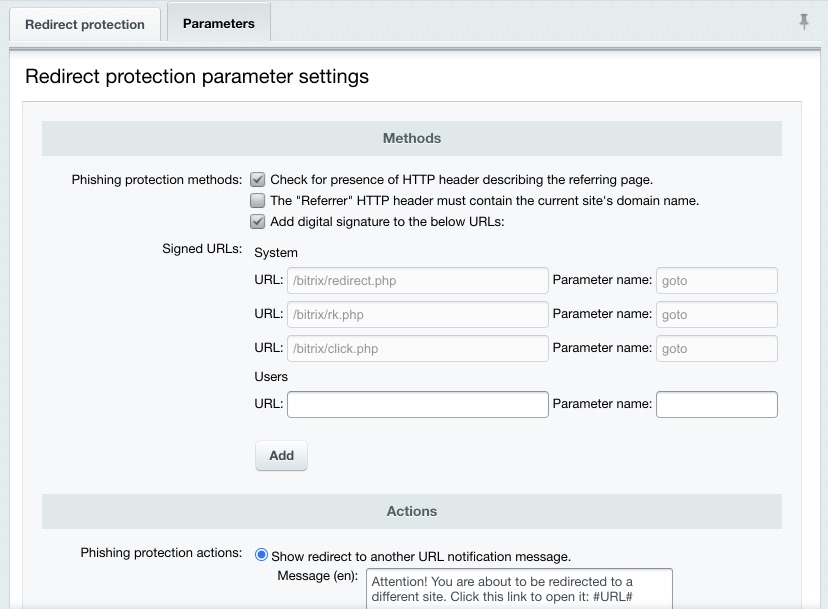
You can protect your redirects by:
- checking a page for the presence of the HTTP header;
- signing the site links with a digital signature. This option specifies to add a special parameter which uniquely identifies the site and the transition to the system links. However, administrators can add their own links they want to protect.
The redirect protection can react in either of the following ways:
- redirect to a link URL showing a warning message and making a seconds delay. The message text and the delay duration are entered in the fields below;
- redirect to a fully, admittedly safe address. This can be the index page, for example.
Note: the standard protection level requires active phishing protection.