Entirely all parameters of the standard security level should be configured properly so that a web site runs well protected.

Note: if you fail to configure the standard level properly, the basic protection level takes effect with respect to parameters of other protection levels.
Proactive Filter and Exceptions
The proactive filter (Web Application Firewall) protects the system from most known web attacks. The filter recognizes dangerous treats in the incoming requests and blocks intrusions. Proactive Filter is the most effective way to guard against possible security defects in the web project implementation. The filter analyzes entirely all data received from visitors in variables and cookies.
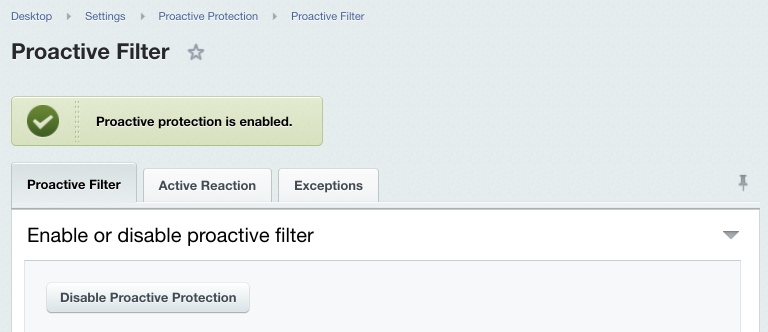
You can enable or disable the Proactive filter at Settings > Proactive Protection > Proactive Filter using the Enable Proactive Protection button (or Disable Proactive Protection).
If required, you can set the proactive filter exceptions; this will cause the proactive filter to not be applied to pages matching the wildcards on the Exceptions tab.
Note: the standard protection level implies that the proactive filter is enabled and no filter exception is defined.
The actions the system undertakes in response to the intrusion attempts are configured on the Active Reaction tab.
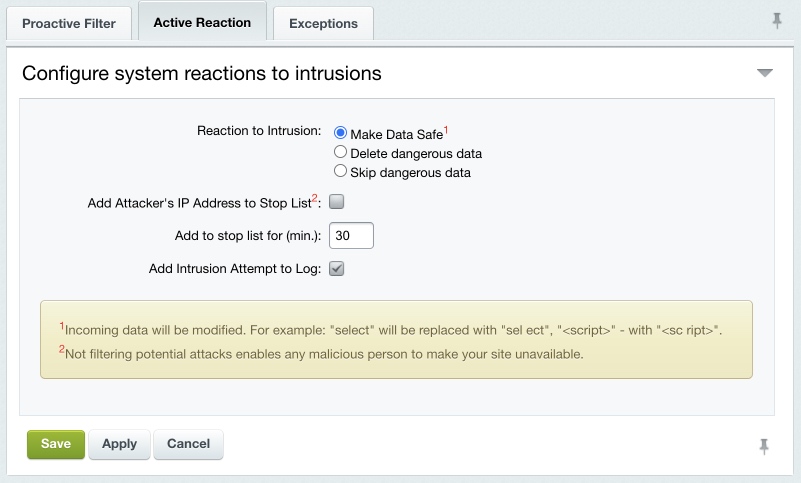
Select the required action to respond to attacks:
- Make Data Safe – dangerous data will be modified; for example: sel ect will replace select.
- Delete Dangerous Bits – dangerous data will be removed.
- Skip dangerous data – no action will be performed.
Add Attacker’s IP Address to Stop List – dangerous data will be altered and a visitor will be blocked for the period specified (Add to stop list for (min.) parameter).
To log the intrusion attempt events, enable the corresponding option.
Note that some harmless actions a visitor may perform can be suspicious and cause the filter to react.
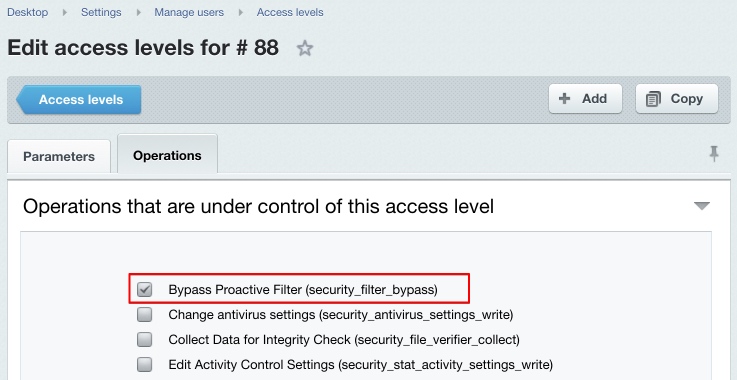
Note. The proactive filter will not be applied to user groups whose operation set (in fact, permissions) includes the Bypass Proactive Filter option (see the description of access permission levels).
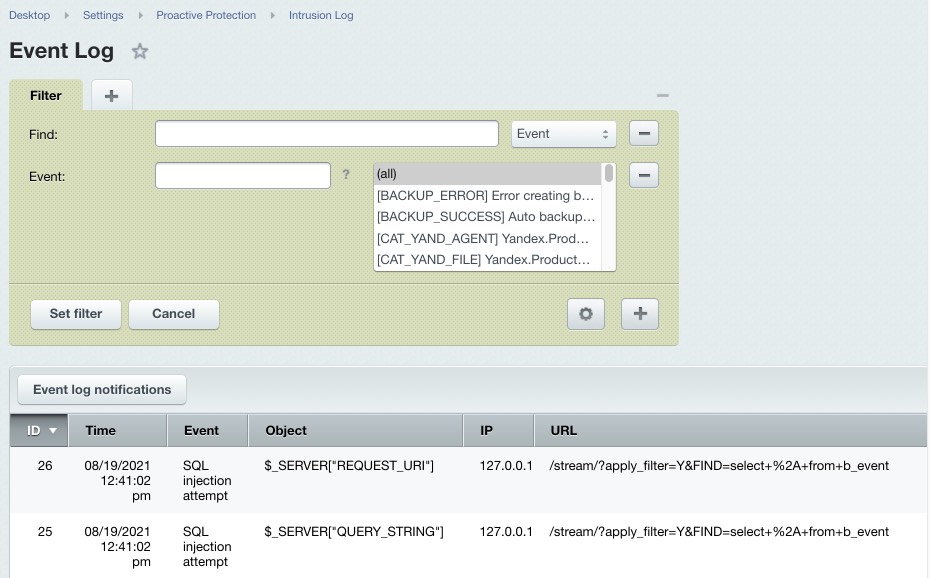
Intrusion Log
An Intrusion Log (Settings > Proactive Protection > Intrusion Log) registers any events relating to potential security threats. The log lifetime can be defined in the kernel module settings. The log includes the following information on an event:
- the event date and time;
- the event name;
- severity (SECURITY or WARNING);
- an event source;
- an event object;
- the source IP. The “stop list” adds the URL to the Web Analytics module stop list.
- the client User Agent;
- the URL of an offended page;
- an offended site;
- the user name (if an event originates from a registered user), or a visitor ID. This field exists if the Web Analytics module is installed;
- the event description.
The log registers the following events.
- The Web Analytics module: exceeding the activity limit.
- The Proactive protection module: SQL and PHP injection attempts, XSS attacks and phishing attempts with redirecting.
- The Kernel module: successful log in and log out; password change request; stored authorization errors; new user registration; user registration and deletion errors.
Activity Control
User activity control is build around the Web Analytics module mechanisms and requires this module to be installed. Activity Control allows to protect the system from profusely active visitors, obtrusive bots, some DDoS attacks, and to prevent password brute force attempts.
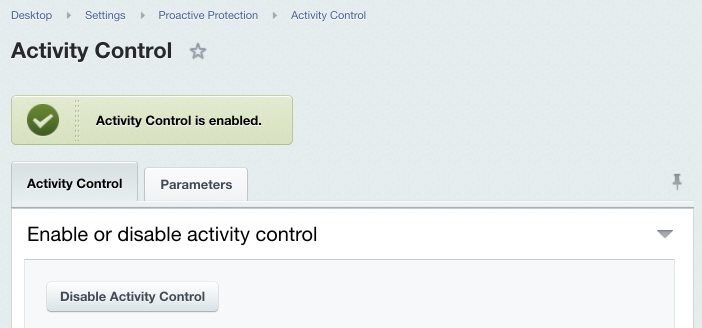
You can enable or disable the activity control here: Settings > Proactive Protection > Activity Control using the Enable Activity Control (or Disable Activity Control) option.
The visitor maximum activity is regulated by the Parameters tab settings.
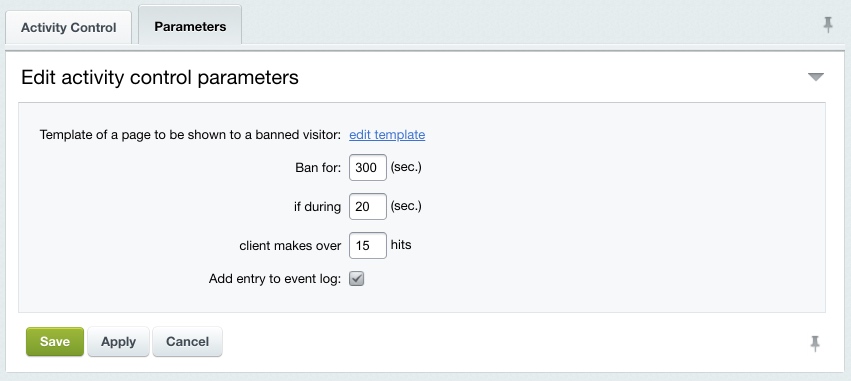
If a user makes more requests than allowed within the time specified, they are automatically blocked for the specified period showing a special page to them. The edit template link allows to edit the template of the error page. Check the Add entry to event log option to register the limit exceeding in the intrusion log (Settings > Proactive Protection > Intrusion Log).
Note: the standard protection level implies that the activity control is enabled.
Special Security Settings for Administrators
The standard protection level implies that the Administrators user group has the highest security level, which is the default setting. If this security level is different from the highest for some reason, do the following.
Click Set to High on the Security panel. The Security tab of the group properties form will open.
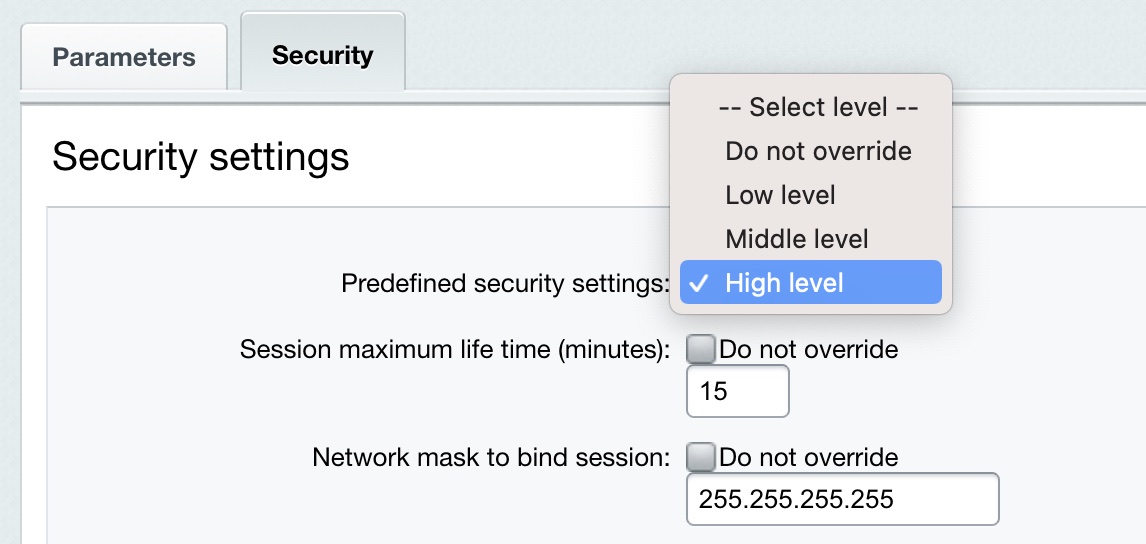
Specify High level in the Predefined security settings field and save changes.
The CAPTCHA-Aware Registration Procedure
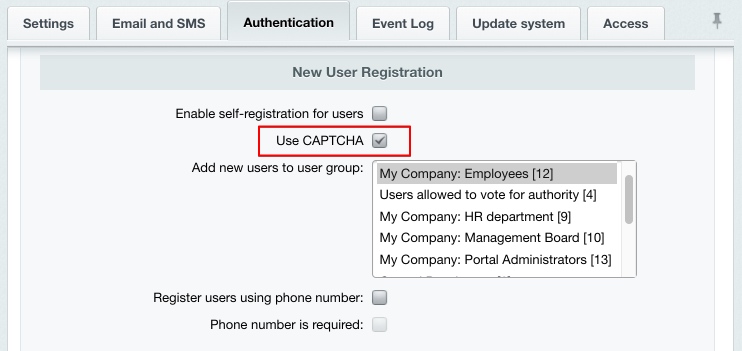
A requisite condition for the standard protection level is the use of CAPTCHA for user registration. This option can be enabled in the Main module settings on the Authentication tab:
You can alter the CAPTCHA look and feel is configured at Settings > System settings > CAPTCHA.
Error Report Mode
In order to protect the site at the standard protection level, there is another Kernel module parameter that is to be configured - Error report mode.
Open the Kernel module settings (Settings > System settings > Module settings > Main module).
Select either Errors only or None in the Error report mode field.
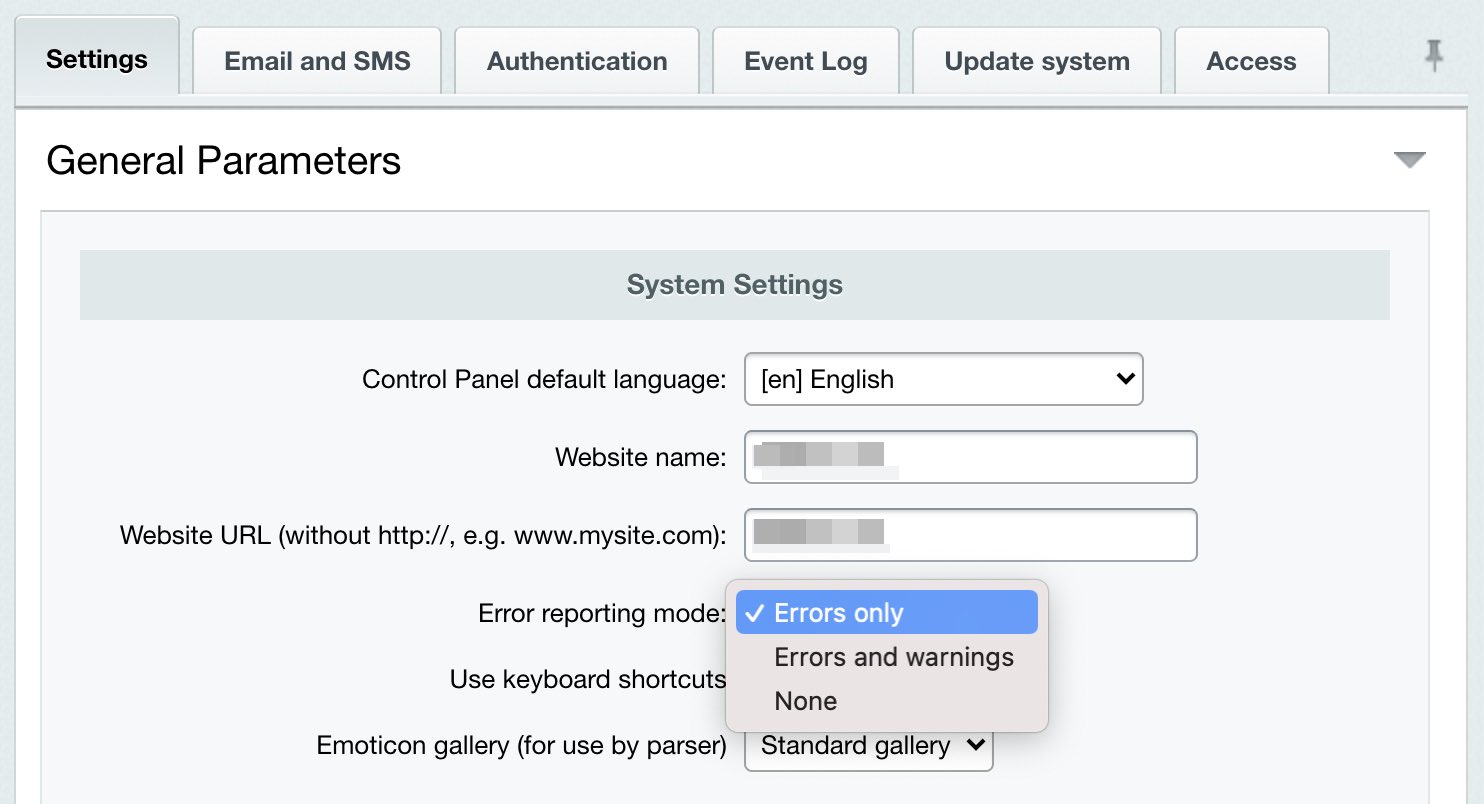
Note: selecting the Errors and warnings mode automatically switches the security level to basic.
Save changes.
Showing Database Request Errors
The standard protection level requires showing database error messages which means the $DBDebug variable is to be set to code. Here, when a database error occurs, only the administrator will see the full error description. However, setting this variable to true causes the error messages to be shown to all the site visitors. If the $DBDebug variable is set to false the error messages are not shown to anyone.
You can change the $DBDebug variable value by editing the /bitrix/php_interface/dbconn.php file.