Views: 10359
Last Modified: 23.03.2022
Before adding an attachment to a message you have to create it along with the message. While the message itself is defined by the MESSAGE key, attachments are created as an array of attachment objects and passed over to the REST command in the ATTACH key. There are two versions of the attachment object: full and short.
Full ATTACH version:
JavaScript:
	ATTACH: {
	   ID: 1,
	   COLOR: "#29619b",
	   BLOCKS: [
		  {...},
		  {...},
	   ]
	}
PHP:
"ATTACH" => Array(
   "ID" => 1,
   "COLOR" => "#29619b",
   "BLOCKS" => Array(
      array(...),
      array(...),
   )
)
Array keys:
ID - specifies the attachment ID for use in the ATTACH BB code. The attachment ID is required to place attachment in any part of a message, not only at the end of it.
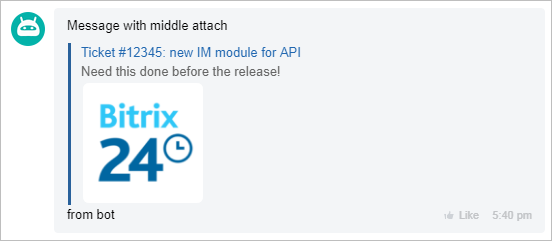
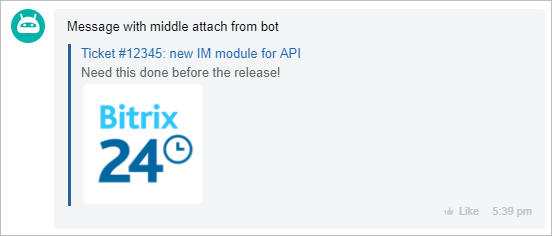
To add an attachment to the message text, add the [ATTACH=1] with the attachment ID, for example: [ATTACH=1]. Then, the message is displayed to the user, the code will be replaced with the attachment. Please note, BB-code is optional: if not specified, the attachment will be placed at the end of the message.
COLOR specifies the attachment background color. This key is optional; the default color is the color of the recipient's chat (or, if this is a notification - current user color). This key is optional, if not required. BLOCKS specifies the attachment layout (see below).
restCommand('imbot.message.add', Array(
   "DIALOG_ID" => $_REQUEST['data']['PARAMS']['DIALOG_ID'],
   "MESSAGE" => "Message with middle attach [ATTACH=1] from bot",
   "ATTACH" => Array(
      "ID" => 1,
      "COLOR" => "#29619b",
      "BLOCKS" => Array(
         Array("LINK" => Array(
            "NAME" => "Ticket #12345: new IM module API",
            "DESC" => "Need this done before the release!",
            "LINK" => "https://api.bitrix24.com/"
         )),
         Array("IMAGE" => Array(
            "NAME" => "Implementation example",
            "LINK" => "https://training.bitrix24.com/bitrix/templates/b24_en_new/img/en/main/logo_rich.png",
         ))
      )
   )
), $_REQUEST["auth"]);
Short ATTACH version:
If all you want is an attachment below the message text, you can omit the ID and the COLOR keys:
JavaScript:
	ATTACH: [
	  {...},
	  {...},
   ]
PHP:
"ATTACH" => Array(
   array(...),
   array(...),
)
Unlike the full version, layout goes in the short version without the BLOCKS keys.
restCommand('imbot.message.add', Array(
   "DIALOG_ID" => $_REQUEST['data']['PARAMS']['DIALOG_ID'],
   "MESSAGE" => "Message from bot",
   "ATTACH" => Array(
      Array("LINK" => Array(
         "NAME" => "Ticket  #12345: new IM module API",
         "DESC" => "Need this done before the release!",
         "LINK" => "https://api.bitrix24.com/"
      )),
      Array("IMAGE" => Array(
         "NAME" => "Implementation example",
         "LINK" => "https://training.bitrix24.com/bitrix/templates/b24_en_new/img/en/main/logo_rich.png",
      ))
   )
), $_REQUEST["auth"]);
Note:
restCommand function is used here for illustration purposes only. It is taken from the
EchoBot example. You can send a REST command with your own function, or use the
BX24.callMethod or
bitrix24-php-sdk methods.
Attention: Due to structural complexity, attachments are not added to XMPP, e-mail or push notifications.