Views: 10977
Last Modified: 21.09.2017
The following steps are required to create web server role:
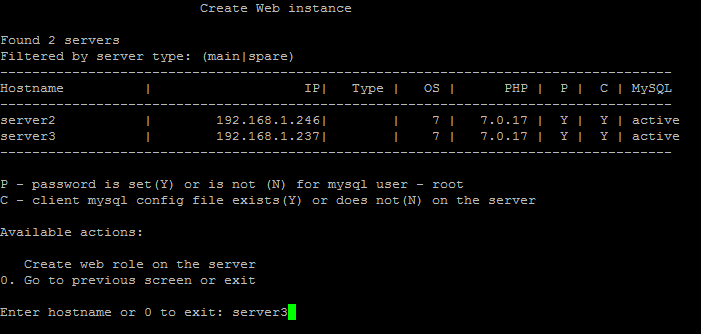
- Select menu item 8. Manage web nodes in the pool > 1. Create web instance on server and to enter host name in the pool, where the web server will be created (in this example - server3):
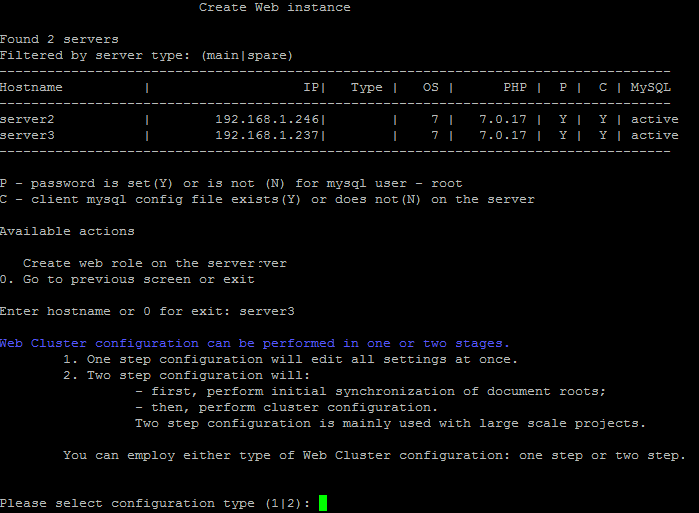
- Select option to create a role:
- one step - all actions to create web-role will be performed in 1 step. This option is recommended for simple projects with insignificant data volume.
- two steps - actions to create web-role will be performed in 2 steps to reduce errors during the role creation process. This option is recommended for large projects with significant data volumes.
Attention! If you have selected two steps option, after 1st step task is completed, 2nd step should be launched in the same manner, on the same server.
- Wait until tasks of web-server creation are completed. As a result, 2 servers will be available with the web role in the pool: server1 and server3:
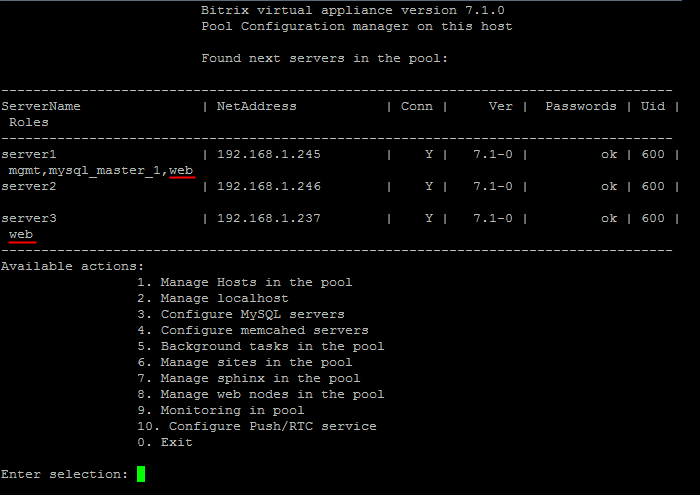
- Add the role (server2) to one more server in the web pool in the similar manner. The server with the balancer, web-role has the main type, and the additional servers of the pool - spare:

Attention! Task execution may take a rather long time (up to 2-3 hours and more) depending on the task complexity, data volume used in such tasks, capacity and server load. You can check the currently executed tasks by using menu item 5. Background tasks in the pool > 1. View running tasks. If task completion log files are needed to be reviewed, they are located in the following directory /opt/webdir/temp.