Views: 24033
Last Modified: 27.08.2014
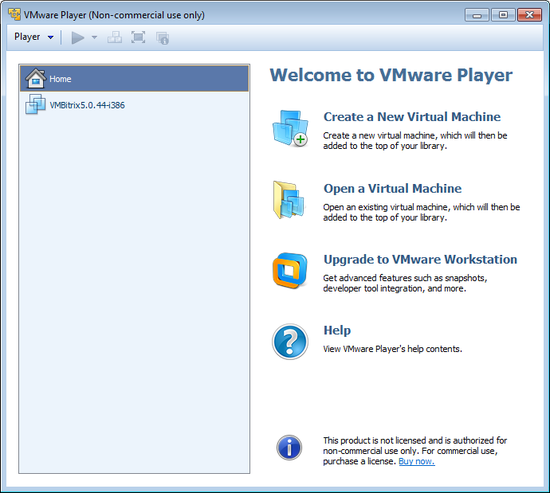
- Download and install VMWare Player.
It is completely free and supports Windows and Linux.
Note: the VMWare Player installation procedure falls beyond this manual; please refer to
VMWare documentation for detailed information.
- Download the VA virtual machine package here.
- Extract files from the downloaded archive to any folder, for example:
С:\VMBitrix\BitrixVM\.
- Start the virtual machine:
- Starts the download of the operational system installed on the virtual machine. After the download, this window opens:
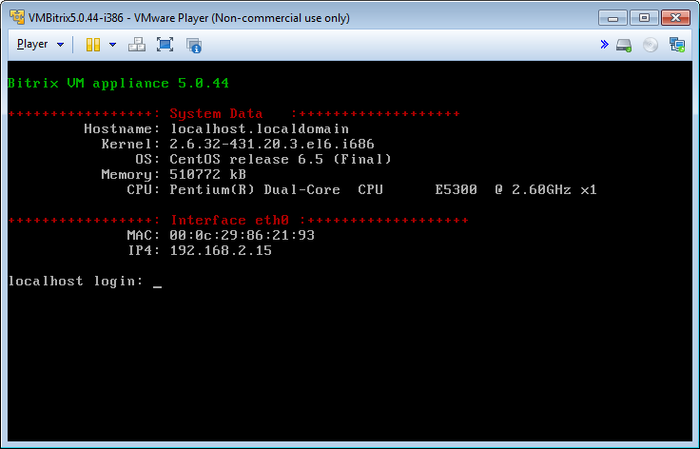
Note. Superuser root uses the password bitrix by default.
Upon the first startup of the virtual machine you are prompted to change the passwords of the superuser root and user bitrix:
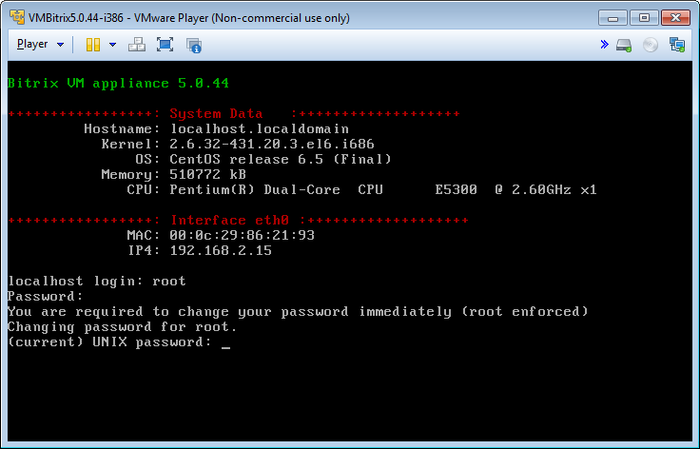
- In localhost login and Password prompts, type the current login and password (root and bitrix, respectively). Hit Enter.
- When prompter for (current) UNIX password, type the current password (bitrix) and press Enter.
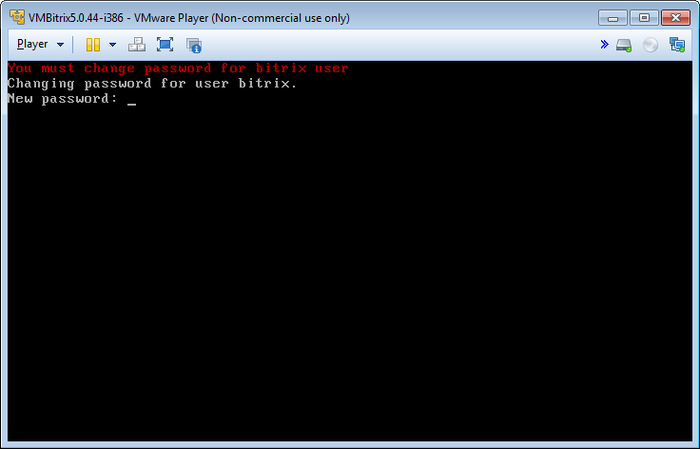
- Type the new password in Enter new UNIX password; press Enter.
- Retype the new password in Retype new UNIX password; press Enter again.
Similarly, change the bitrix user password.
Note. You can change the bitrix user password later in the virtual server control panel using menu 1. Creat Management pool of server - Change bitrix password.
Now the virtual server is ready for use. The initial VA Available actions menu appears as follows:
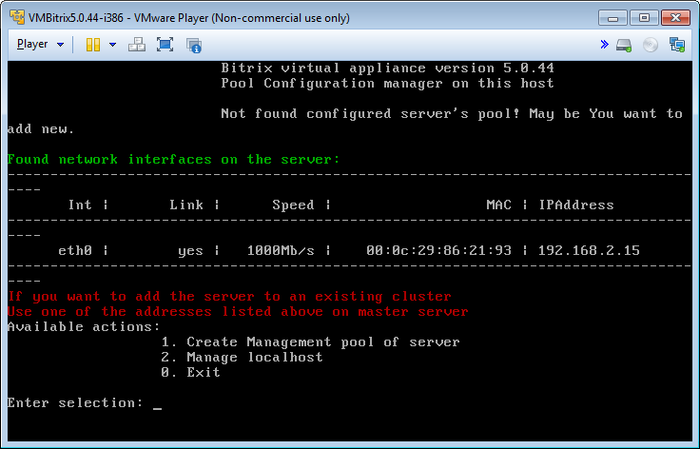
- 1. Create Management pool of server – creates server control pool;
- 2. Manage localhost – controls local virtual server;
- 0. Exit - exit to operational system console.
Type the number (0–2) and press Enter to execute any action. For example, to configure the local virtual server type 2 (Manage localhost) in the line and press Enter.
To direct control back to operating system, press Ctrl+Alt.
To return from shell to the virtual machine menu, execute:
cd ./menu.sh
Note: if you encounter problems with the network adapter, try changing the adapter mode (
Bridged,
NAT,
Host-only):
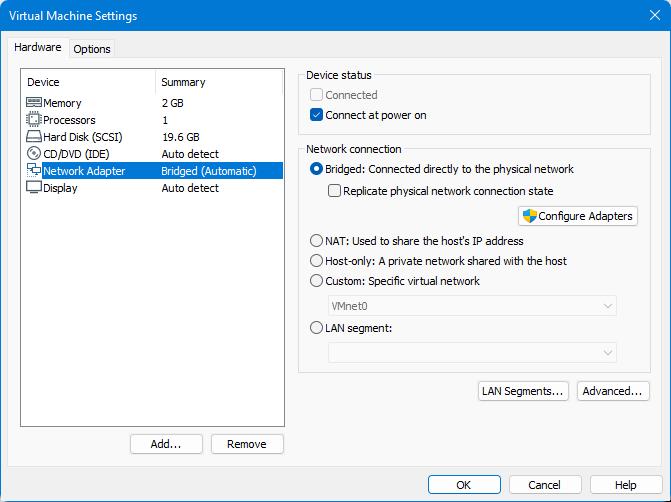
Then, restart the server by selecting the command
2. Manage localhost > 4. Reboot server and pressing
Enter.
Now that the server is running, type the address suggested by the appliance (it varies from system to system; the screenshot above shows the address http://192.168.2.15) in the web browser. You will see the following welcome screen:
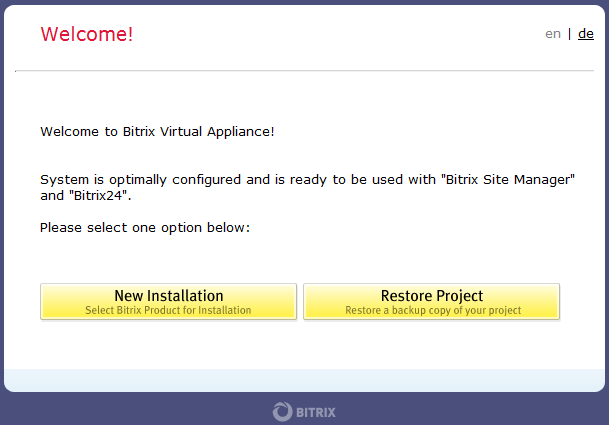
Choose one of the options to continue:
- New Installation - runs the installation wizard which will download, unpack and install a new website;
- Restore Project - runs a restoration wizard to create a backup copy of your website or restore it from an existing backup.