Views: 19817
Last Modified: 02.04.2014
Bitrix Virtual Appliance also has a support for quick deploy of a master-slave cluster configuration Bitrix Site Manager or Bitrix24 Self-Hosted with an installed module of Web Cluster.
It will permit to distribute one site among several servers thus solving several tasks:
- Ensure the high availability of the site;
- Site scaling in case of an increasing load;
- Balance of load, traffic, and data among several servers.
Preparation of a Virtual Machine for Connection to the Cluster
The following steps must be followed to prepare a virtual machine for connection to the cluster:
- Change the standard password of the root user;
- Change the standard password of the bitrix user
- If virtual machine is to be added to cluster as a slave node, the database with the same name as the database on the master node must be deleted (by default it is sitemanager0).
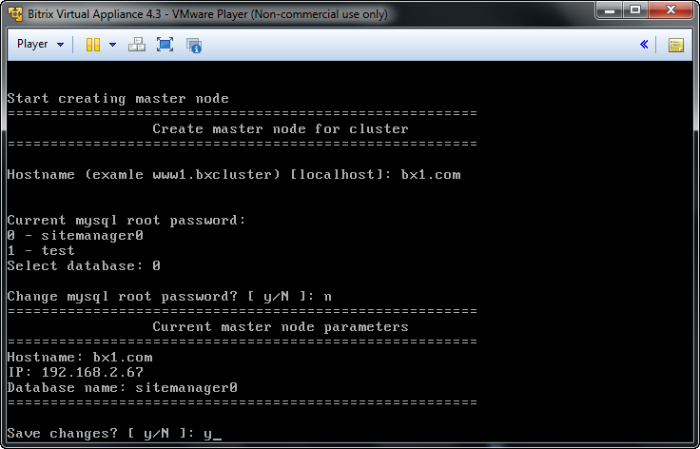
Creation of a Master Node
After preparation of the first step towards setting up a cluster is the creation of a master node. Master base MySQL will be located on this node, and also this node will set up the cluster and all its nodes.
To this effect:
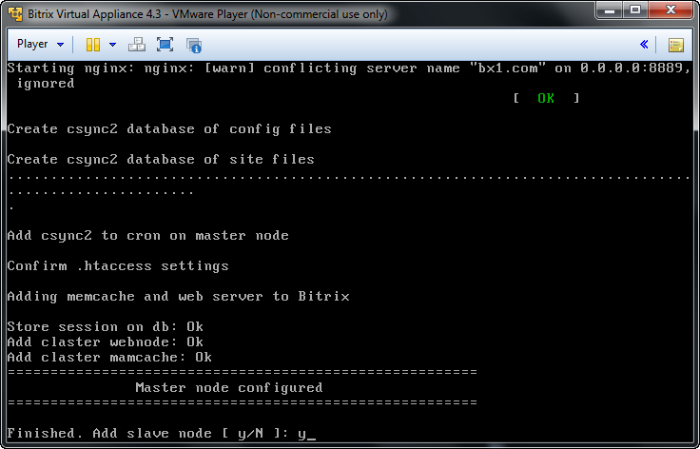
After confirmation, the process of creation of the cluster master node starts. It will setup all the necessary services and add all the necessary entries in the Web cluster module.
After setting up the master node you will be offered to create a slave node. You may agree or decline and create slave node later.
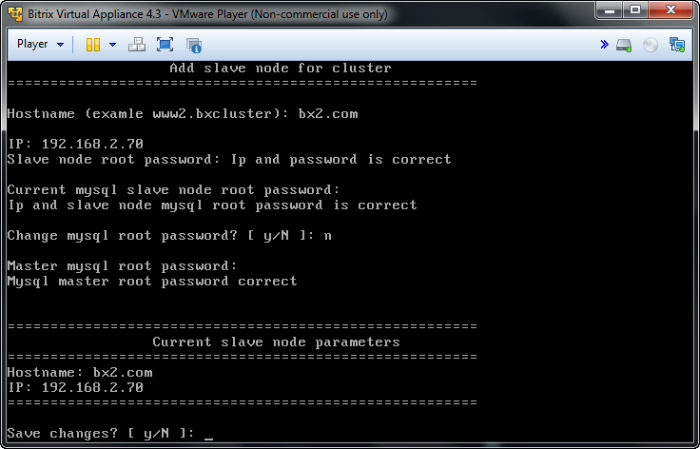
Creation of a Slave Node
To ensure the proper operation of the cluster, at least one slave node must be added to the cluster after the creation of the master node. It can be done either immediately after the creation of the master node or using the administrative menu:
After confirmation, a process will start to setup the cluster, move the site files and database onto the new node, and add node services to the Web cluster module.
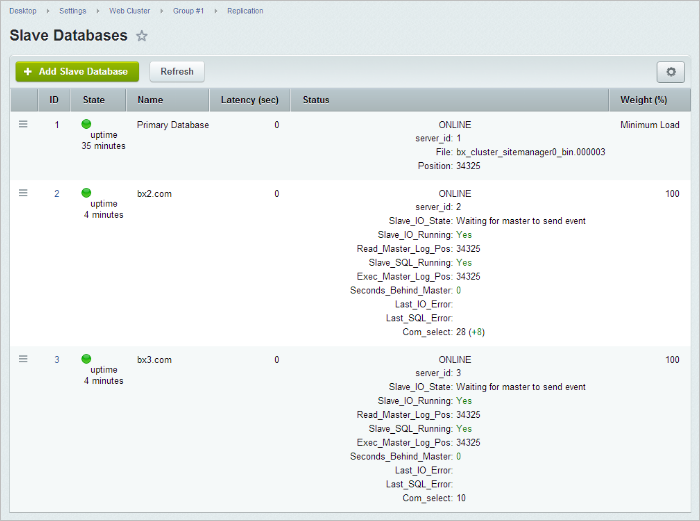
Having added the slave node, we obtain a fully functional cluster. If the project load increases, an additional slave node may be added to the cluster in a similar way. Thus, the consistency of project work is ensured notwithstanding any load increase:
Node Drop in the Cluster
If one or several slave nodes drop(s), the project will continue operating steadily.
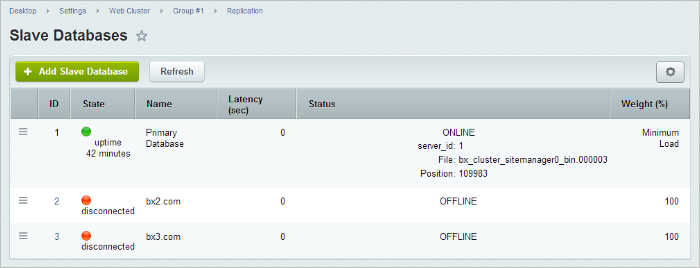
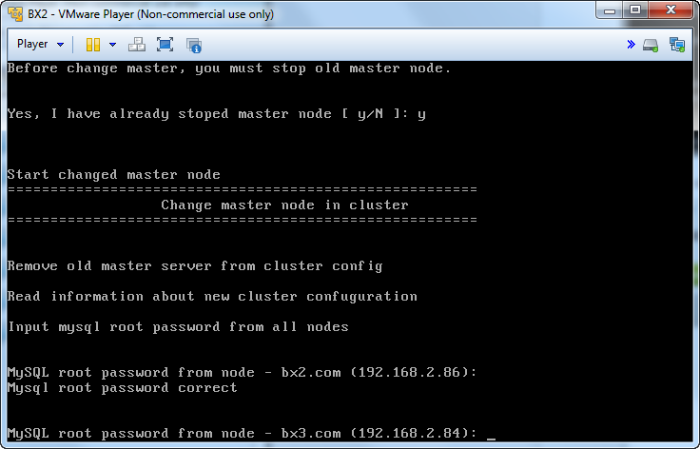
If the master node drops, the following actions must be taken to recover cluster operability:
- Change the role of one of the slave nodes to master. To do so, run wizard 12. Make slave node a master node and specify passwords to MySQL root for all nodes that remain in the cluster:
- And after the wizard completes its work, correct the list of nodes in the Web cluster module.