Views: 13568
Last Modified: 20.01.2025
Templates for the Bitrix Site Manager can be loaded in the system in <template_name>.tar.gz. format. Also the site template can be added by copying the template folder to the system.
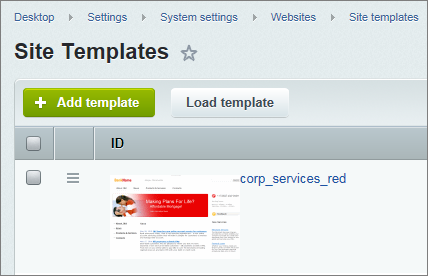
The system templates management is implemented in the administrative section: Settings > System settings > Sites > Site templates
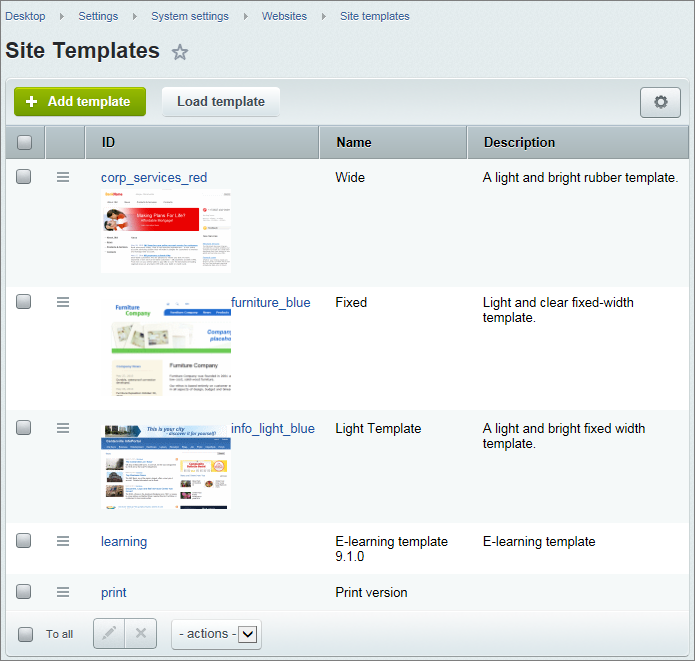
There you can view, edit and upload the existing templates and also add new templates.
The possibility to view templates layout directly in the template list is realized by means of template capture using. The template capture should be located in the corresponding template folder with the screen.gif name (for example, /bitrix/templates/demo/screen.gif).
Template editing
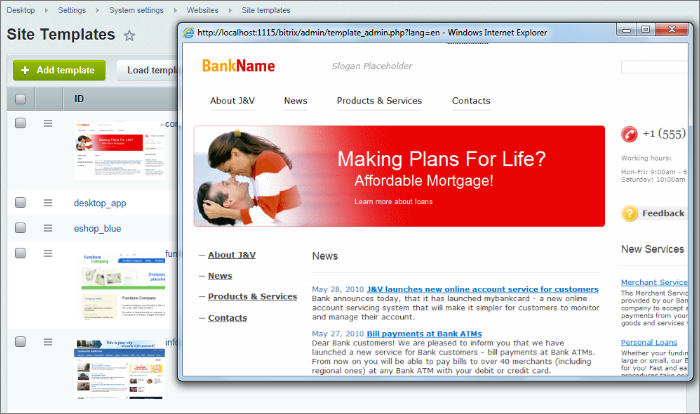
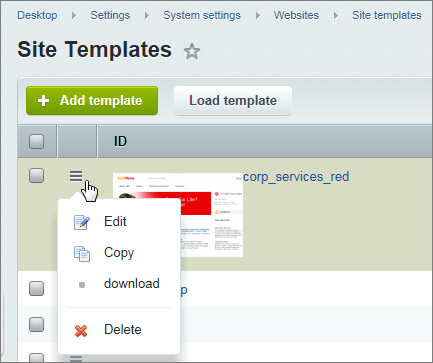
To view or modify a template code use the Edit item in the template context menu.
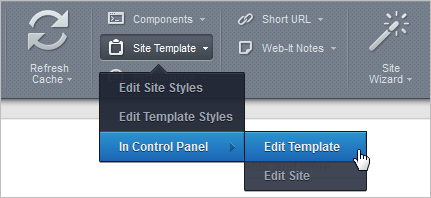
Note: Template editing may also be accessed from the public part of the site. For this, use the option
Edit template of the menu of the
Site template button in the administrative panel:
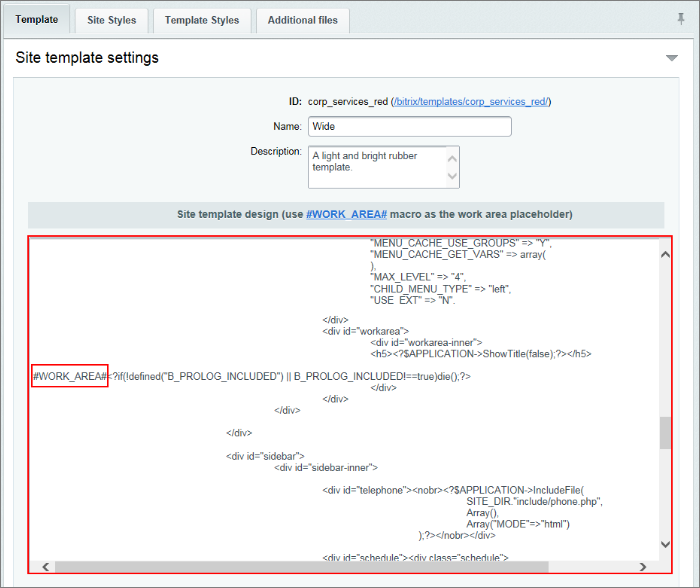
The field Site template design contains the template code.
Design template may be edited using a visual editor or working with a source code. The latter option is preferable.
The possibility of the visual editing of a template is determined by Kernel module settings (option Use WYSIWYG editor for Site Templates).
If this option is selected in the template editing form the option Use visual editor will become available.
Attention! Site design template will be edited correctly in a visual mode, if HTML tag attributes do not contain php code and also, for example, if table lines and cells are not interrupted with php code while a table is formed. If site design template code has such particulars, it should be edited only in the code mode. In addition, template editing is not recommended in case of a complex layout.
When editing a template in a visual editor, consolidated top and bottom parts of the site design are displayed. Components and functions written in the PHP programming language are inserted into HTML code and ensure the display of various types of information: metadata, page header, cascading style sheets, administrative panel, and subsequent control of this information using visual tools.
Attention! The use of composite components in site design template is strongly discouraged. Please note that
#WORK_AREA# separator is available in the template code which is used to indicate the boundary between the top and bottom part of the design. Here, the work area of the site page will be connected. In the visual mode of the template editing work area is indicated with

. The template cannot be saved without this separator.
Template export
The special system interface features allow to export templates used in the system in the <file_name>.tar.gz format. The Downoadcontext menu item is used.
Template import
A ready-made template must be exported as a set of files using file manager or special interface of the system. A special Load template button of the context panel is located on the page containing the list of templates.
If we click the button, the following form opens:
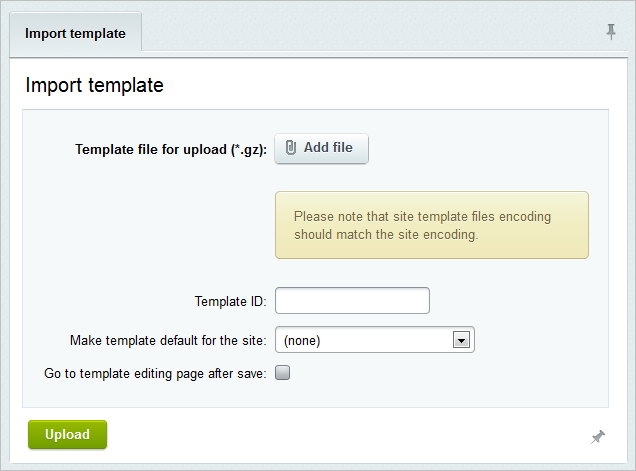
- Specify the file containing template for upload using the Browse… button.
In case of upload by default the template will be unpacked and placed into a folder with a name that corresponds to the name of the uploaded file (/bitrix/templates/<template_identifier>/). For example, if the name of the uploaded file is template1.tar.gz, the template will be automatically placed into the folder .../template1/, and the identifier (ID) template1 will be assigned to the template itself.
- In order to assign another identifier to a template and have the template itself placed in a folder with the appropriate name, the necessary template code should be indicated in the Template code field.
- Also, an uploaded template may be linked as a default template for the selected site using the relevant option.
Template creation
A new site template can be created directly in the system with use of the New template form. To go to this form use the Add template button located on the page context panel.
Creating the template via the system interface you can:
- assign template ID (must be unique);
- assign template name;
- input template description for showing in template list;
- input template source code;
- assign used in template CSS:
- The bookmark Site styles serves for description of cascading style sheets (CSS) used on the site pages. Style description is stored in the file styles.css in the site template folder.
- The bookmark Template styles serves for description of cascading style sheets (CSS) used in the template. Style description is stored in the file template_styles.css in the site template folder.
- define set of used in template pictures and include areas.
The new template is stored in the /bitrix/templates/<template_ID> directory (this directory is created automatically).
It is recommended to store all graphic files used in the template in the /bitrix/templates/<template_ID>/images/ directory.
Note: It is recommended to deactivate caching during template creation.
)