Last Modified: 07.07.2020
|
|
|
Views: 23740
Last Modified: 07.07.2020
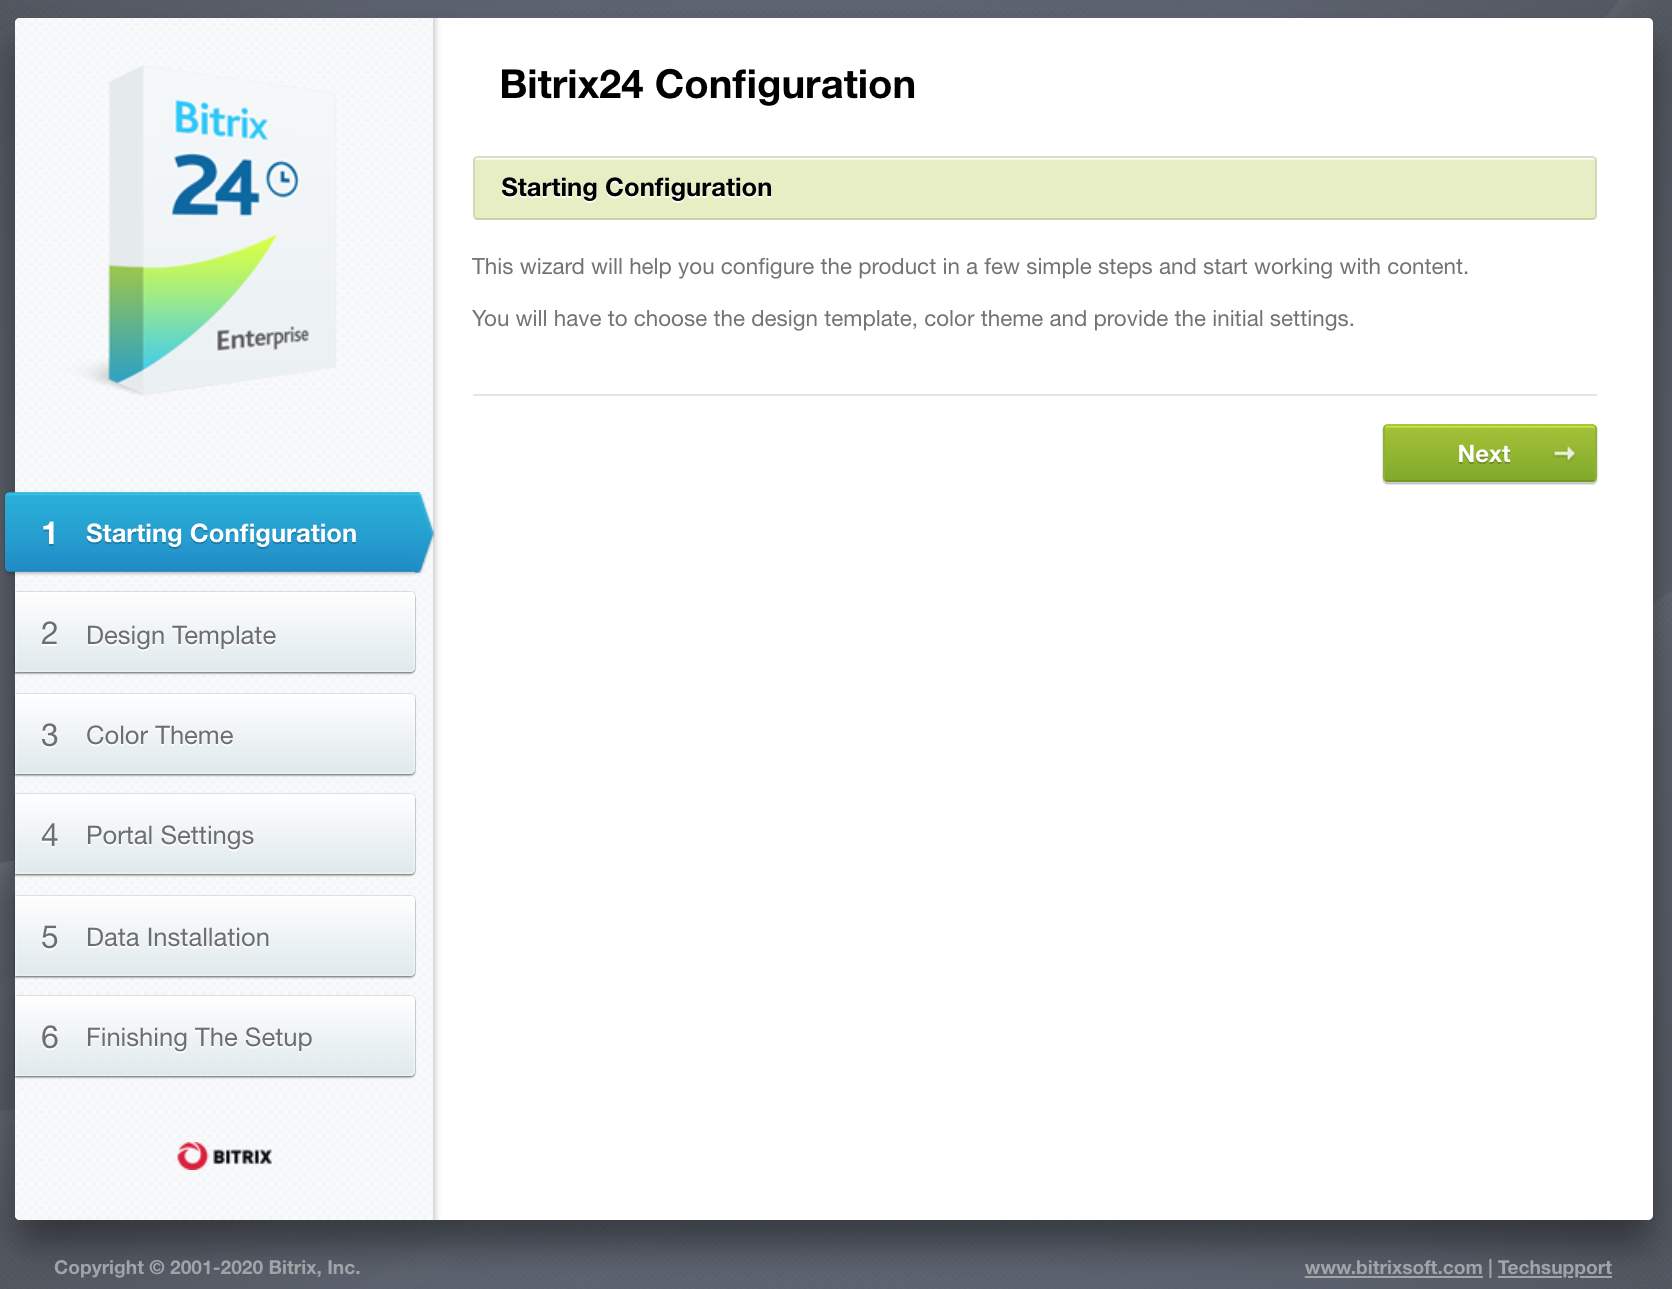
This screen informs you that the configuration wizard has started.
Choose the design template for your Bitrix24. Templates vary in layout, colour, appearance of the main page and settings. 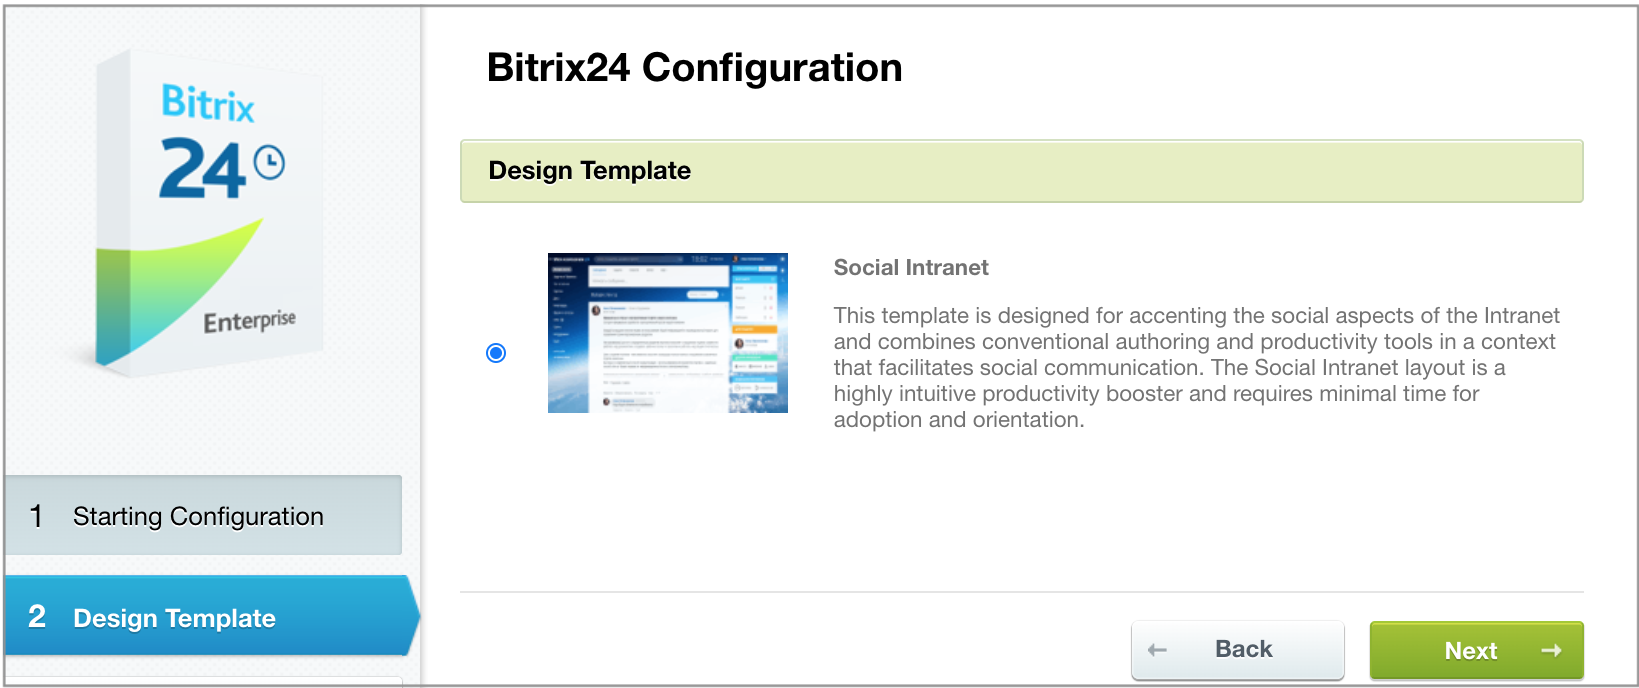
Note. Portal templates are system templates and cannot be customized! There is a technical possibility to copy, customize, and apply the template, but in this case the backward compatibility will be lost.
Here you will choose the desired colour theme for your Bitrix24. Different site design templates offer different colour schemes. 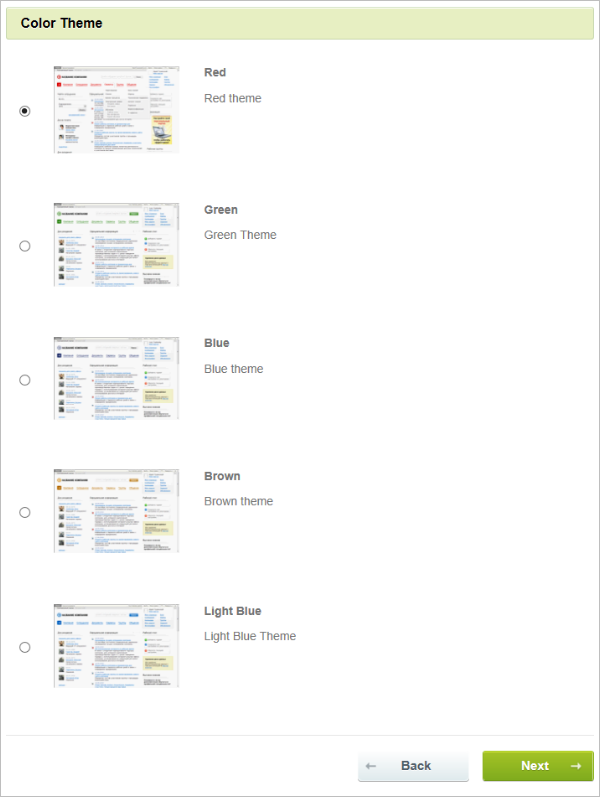
Provide here the name and the logo of your company. Select the features you want to enable on your Bitrix24. 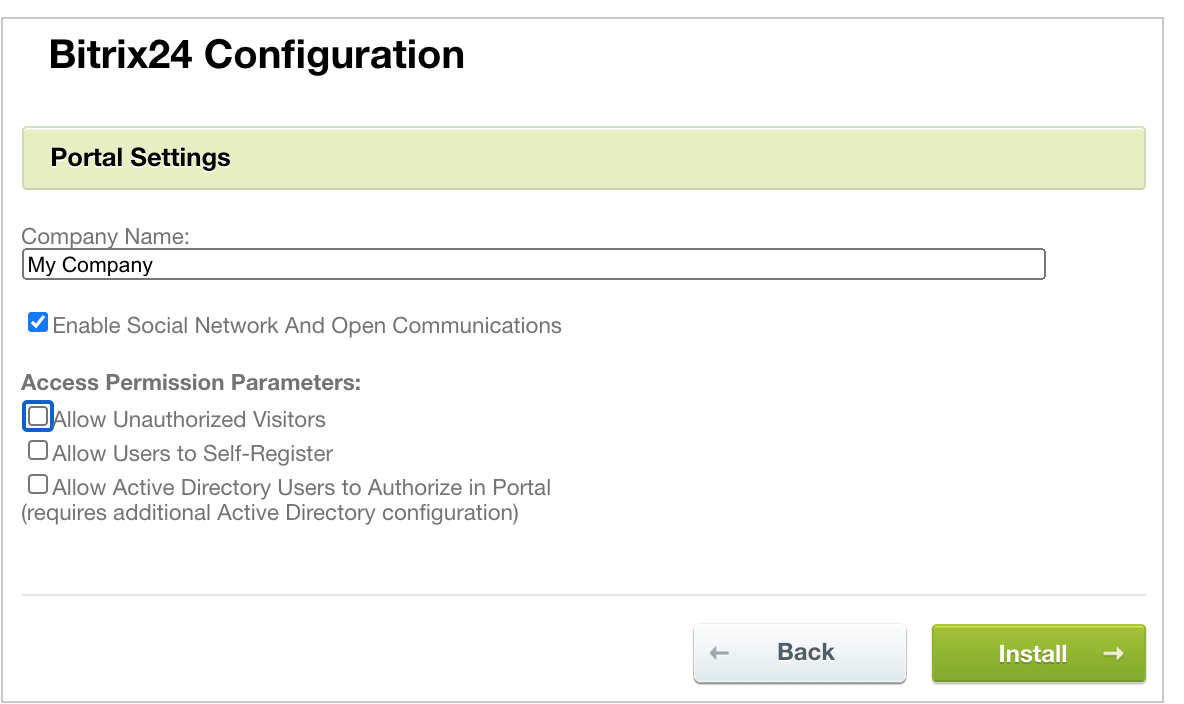
This is an unattended step that installs Bitrix24 according to the selected preferences. You can watch the process proceeding in the progress bar. Upon completion the wizard will open the next step automatically.
The system has been installed and the initial configuration has been applied. 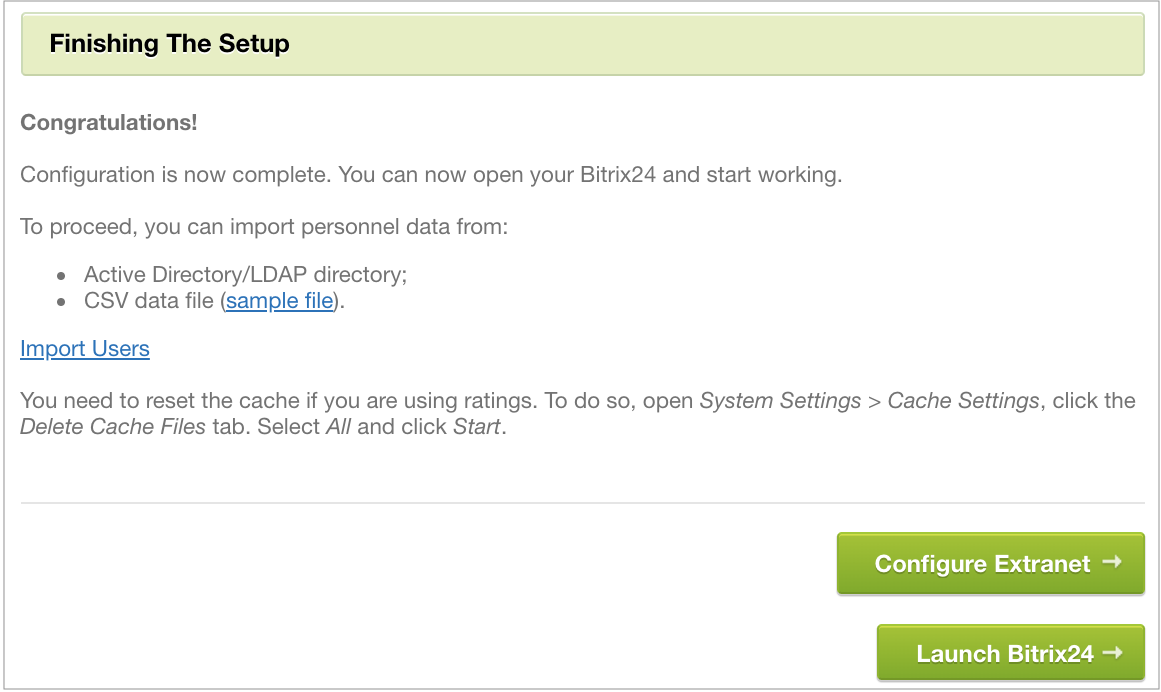
Now you can:
Note: the Configuration Wizard may also be launched again after the product installation. For example, in order to change a template or color set of the portal or include additional modules (depending on the license), etc
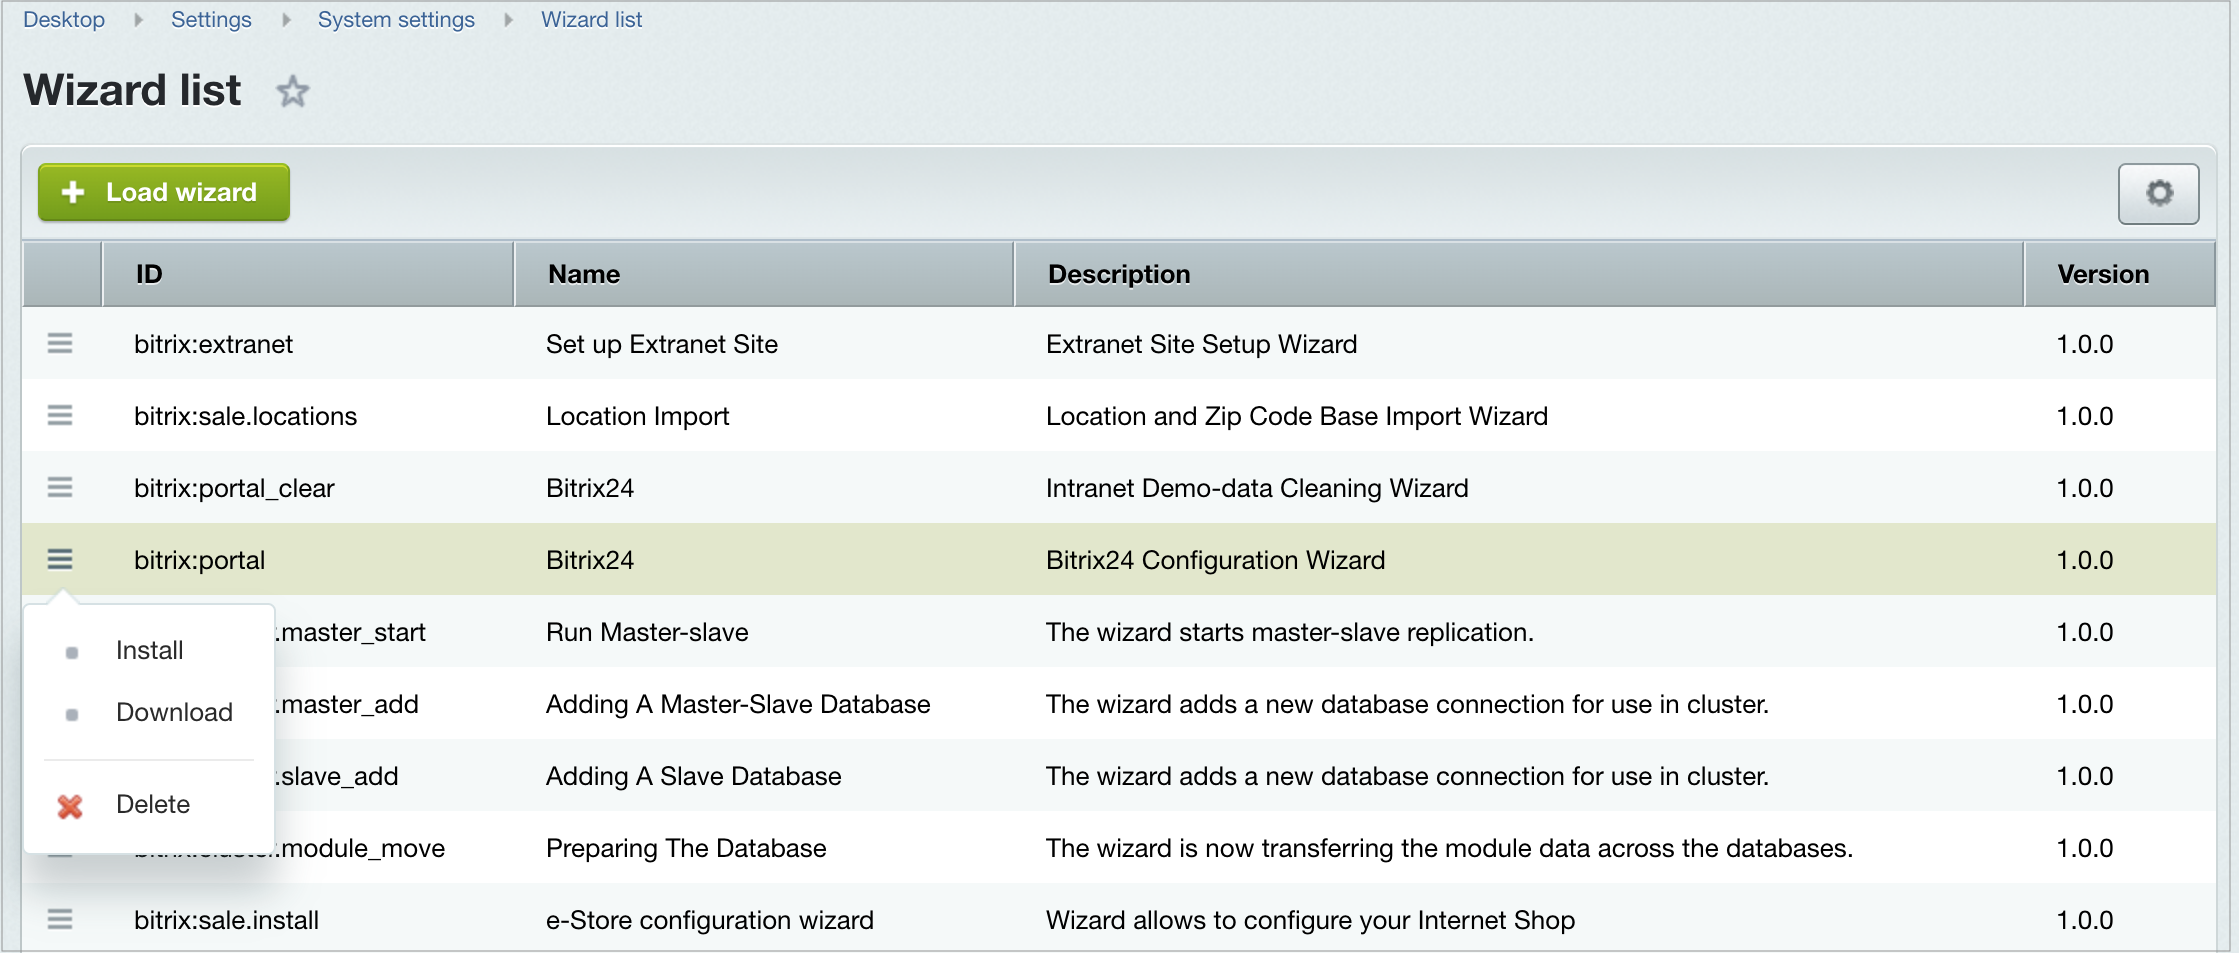
Administrator’s interface: select Install option in the actions menu in Corporate Portal Wizard (Settings > System settings > Wizard list):
Courses developed by Bitrix24
|
